


Simple Bound Memory Book
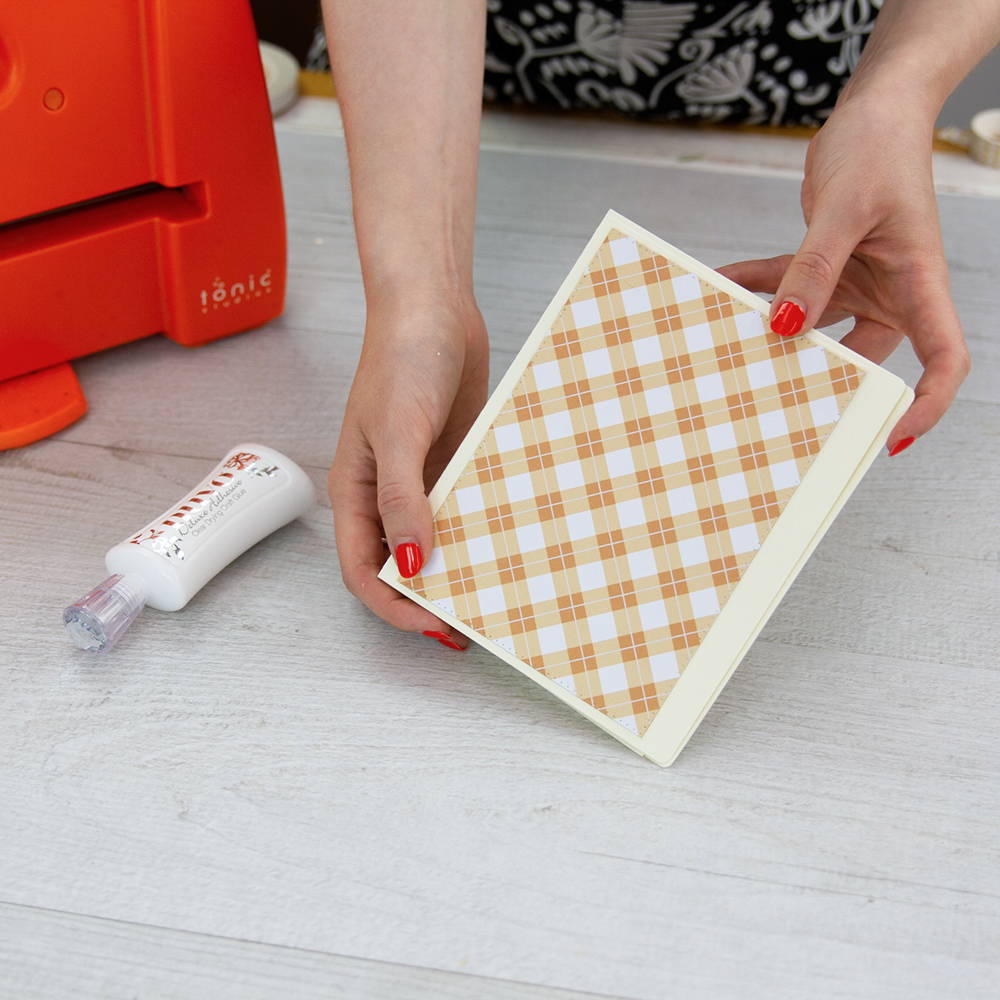
Step 1

Die cut the main outer edge die the same number of times as pages your require, I’m using three for this example. Trim off the single scored section from each.
Step 2

Fold your die cuts along the centre score line. Choose one of the ‘Punch Hole’ strip dies and cut this into both scored areas on each folded die cut. Depending on your cardstock you may need to run this through your die cutting machine for an extra cut as it needs to cut through both layers.
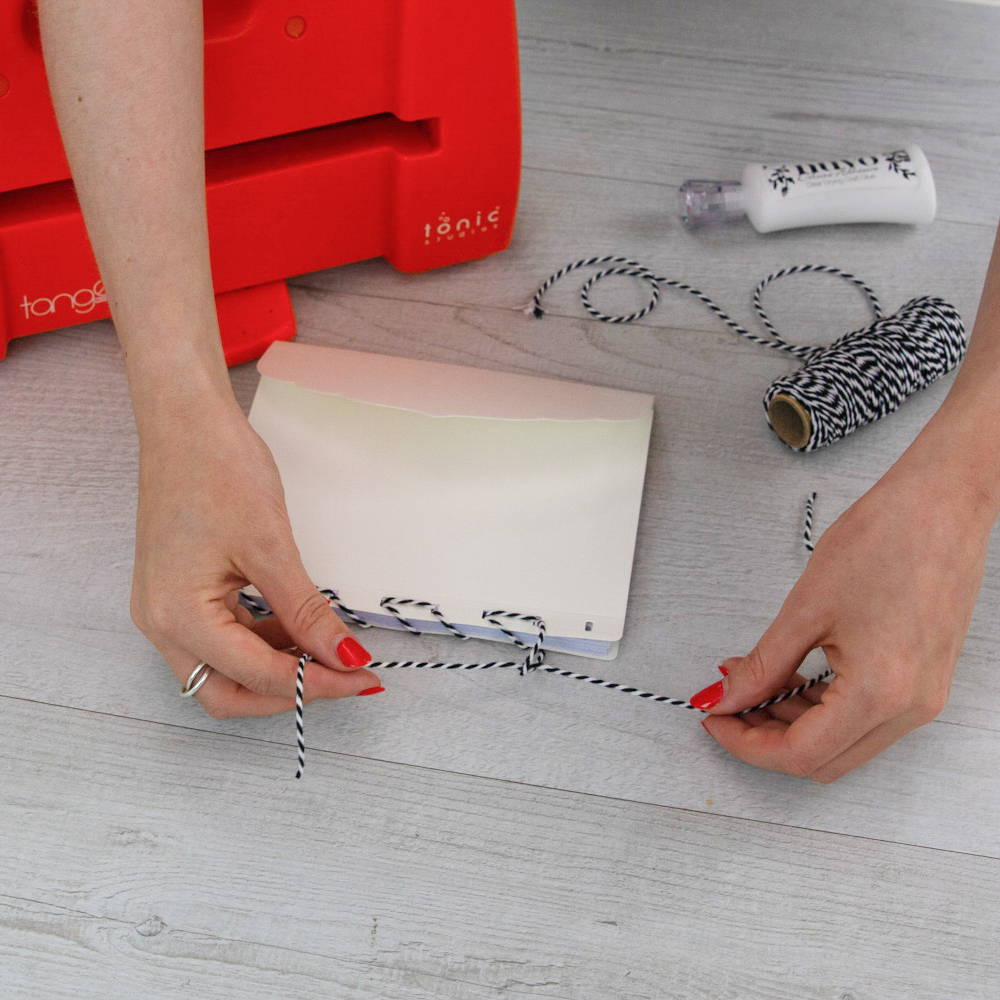
Step 3
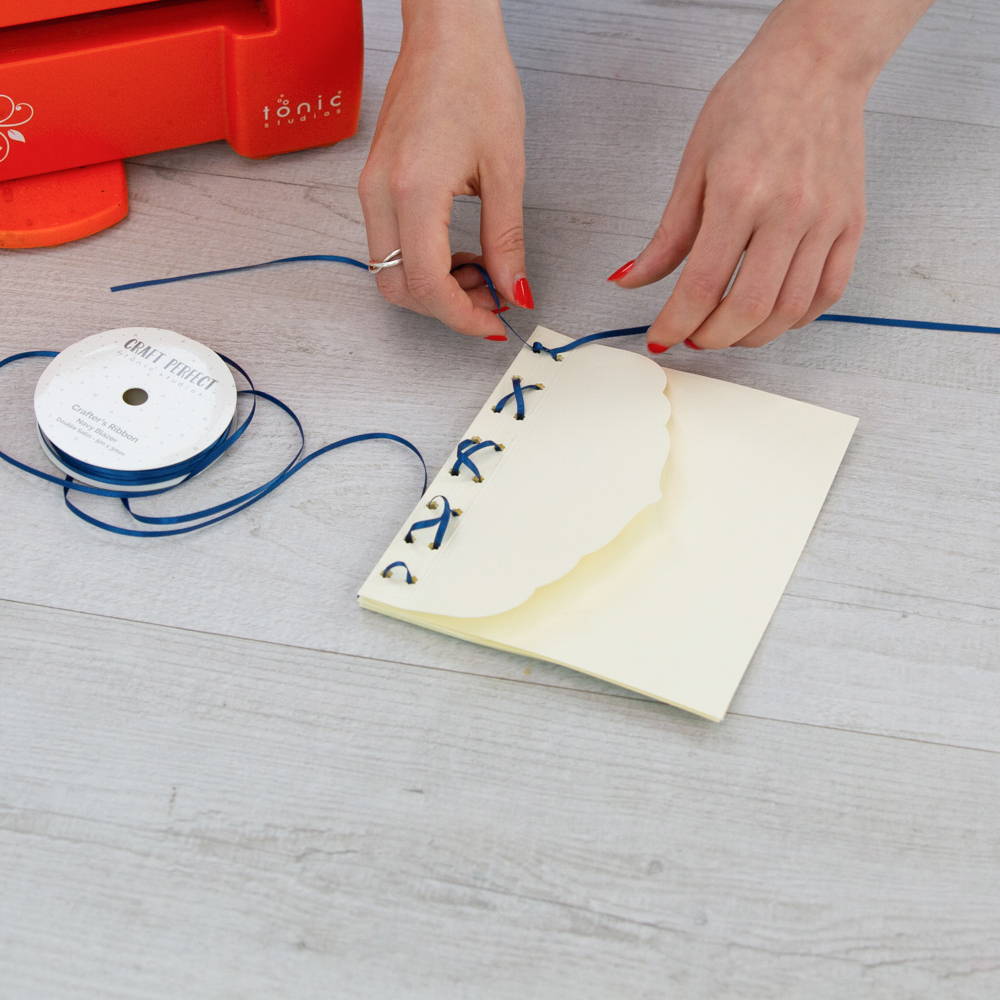
Take a thin ribbon and lace your book together loosely starting at the top and working down and back up in a criss cross. The pages will need to lie flat when open so they do not tear. Once your pages are decorated a lot of that loose ribbon will be taken up.
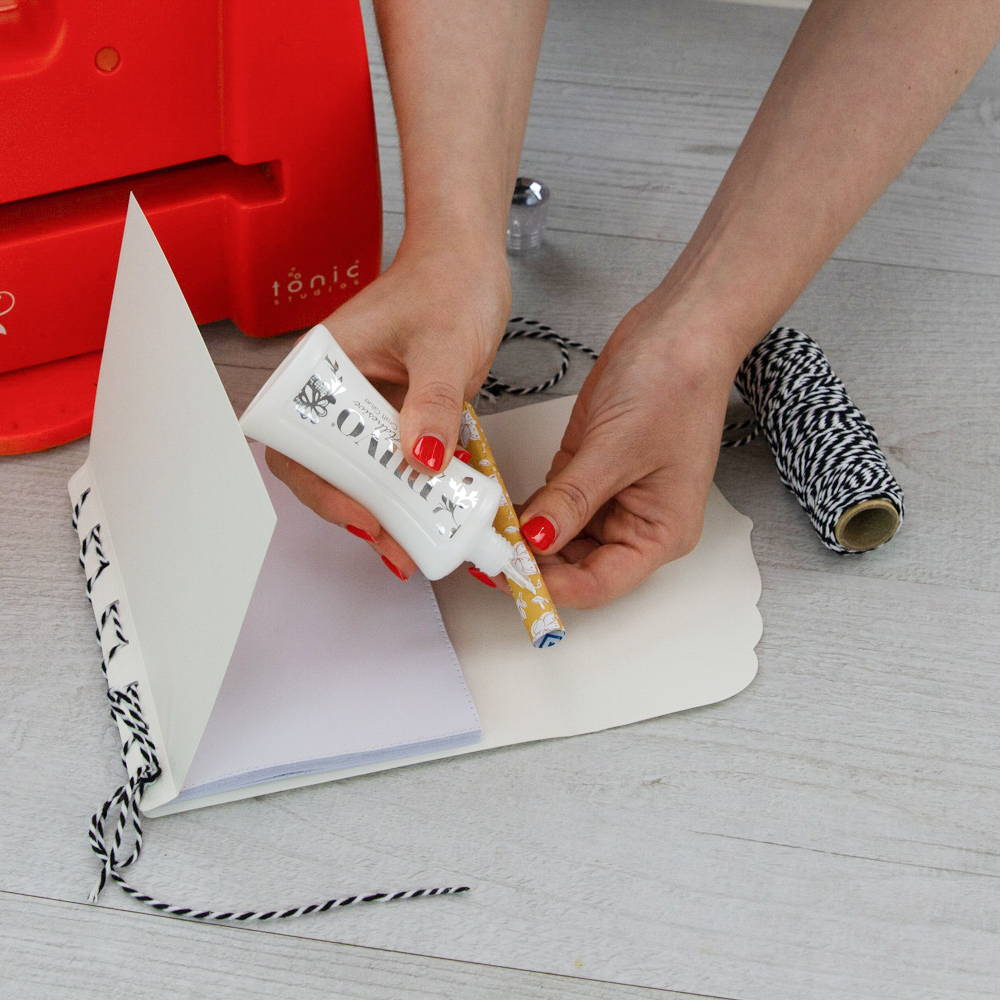
Step 4


Decorate your pages with pockets, layers, secret compartments hidden by magnetic closures and anything else you can think of to fit in your book. Decoration is very personal and can be done to your taste.
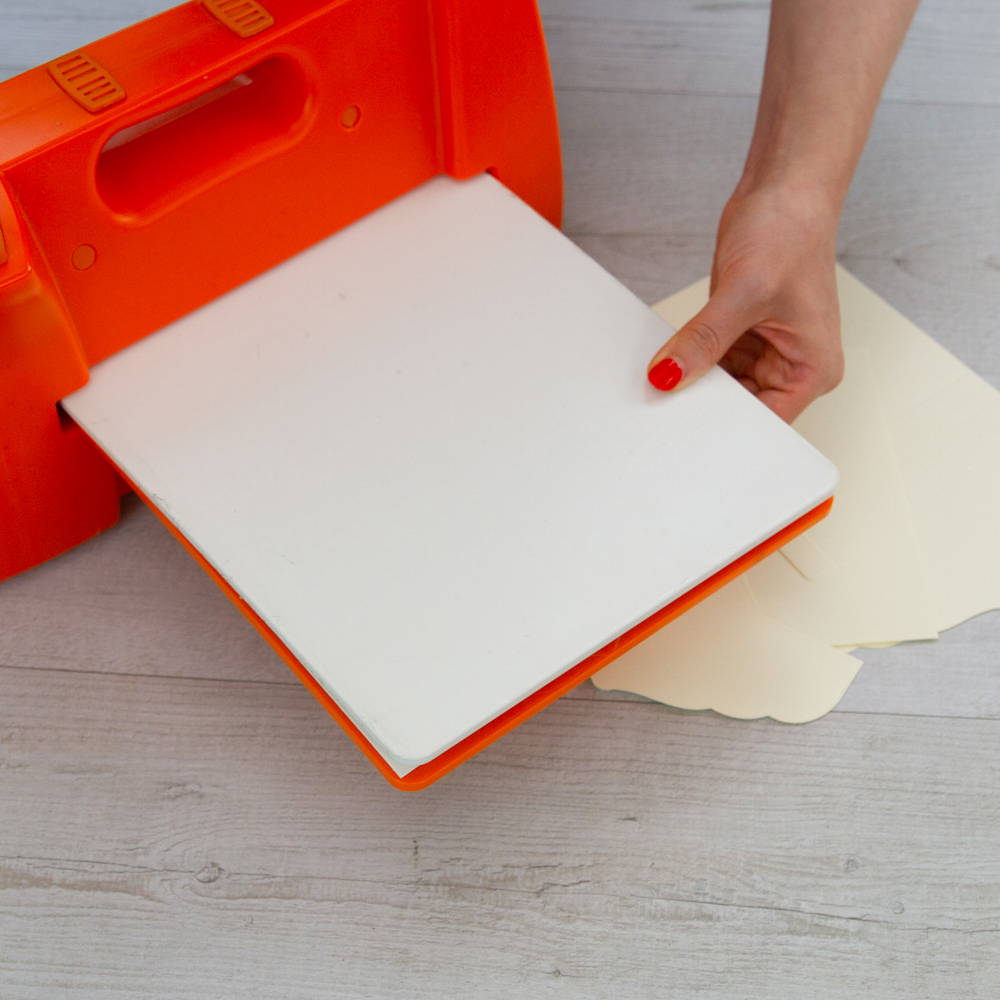
TOP TIP: If you find your card being marked by your plates, add a sheet of thin copier paper while cutting.
Simple Fold Out Book
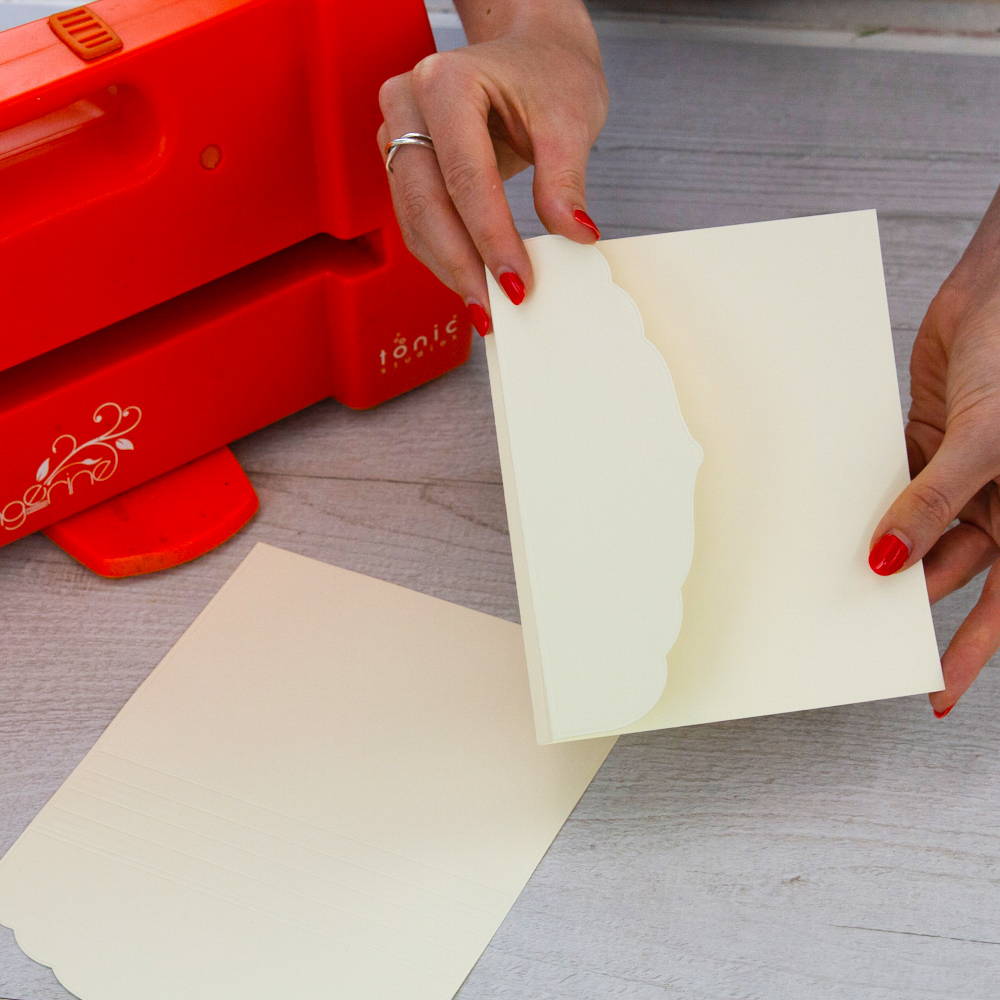
Step 1
For the covers: Die cut the main outer edge die twice. Trim the small scored section from the edge of each one, then trim off the shaped section up to the first score line on one of the die cuts.
Step 2
Fold the larger die cut along the centre score line in a mountain fold, the next is a valley fold and the last one towards the shaped section will also be a mountain fold. The second die cut will need two mountain folds as shown.
Step 3
Overlap the two cover die cuts at the first score line and adhere together.
Step 4

For the inside ‘concertina’ folded page section, cut another six of the main outer edge die and trim off at the multi score line section on all six. These will form your pages and a glue tab.
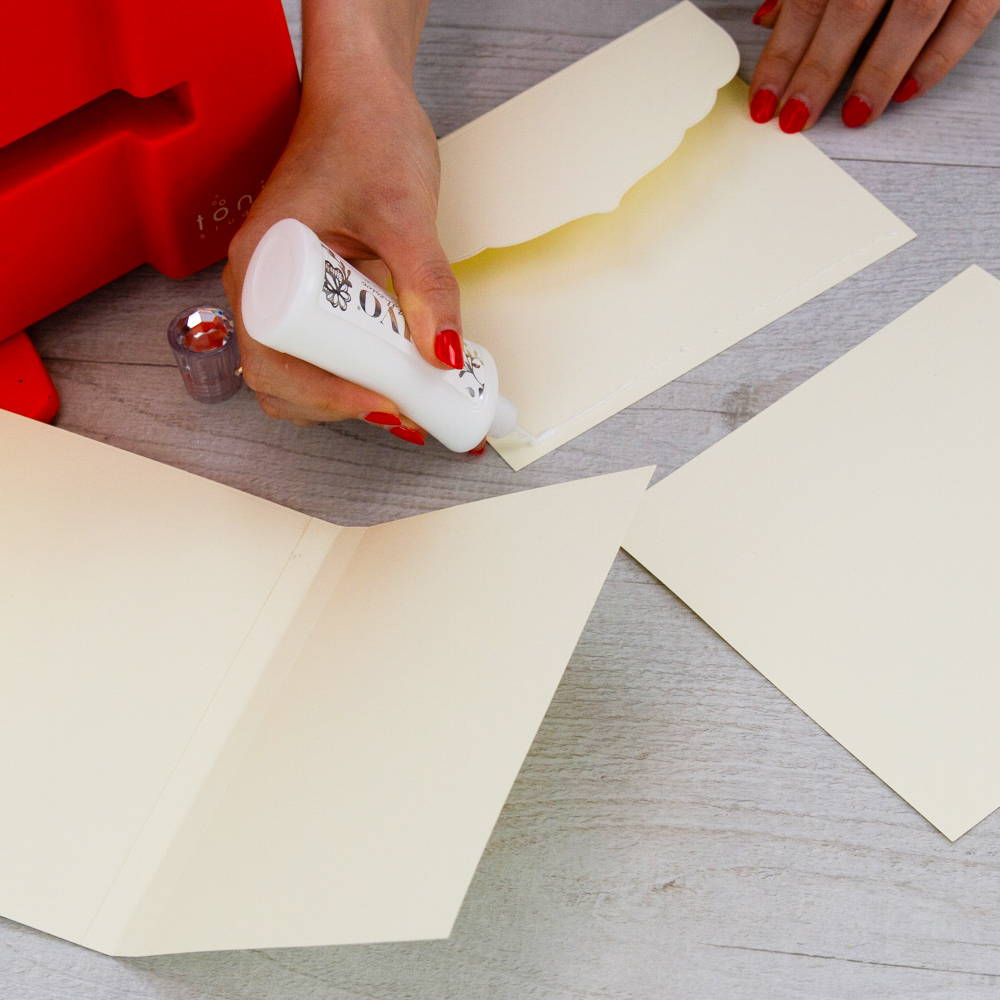
Step 5

Glue one of the pages to the scored and folded section of the covers adding glue on top of the scored glue tab to secure the front cover. Your page should be sandwiched between the score lines.
Step 6


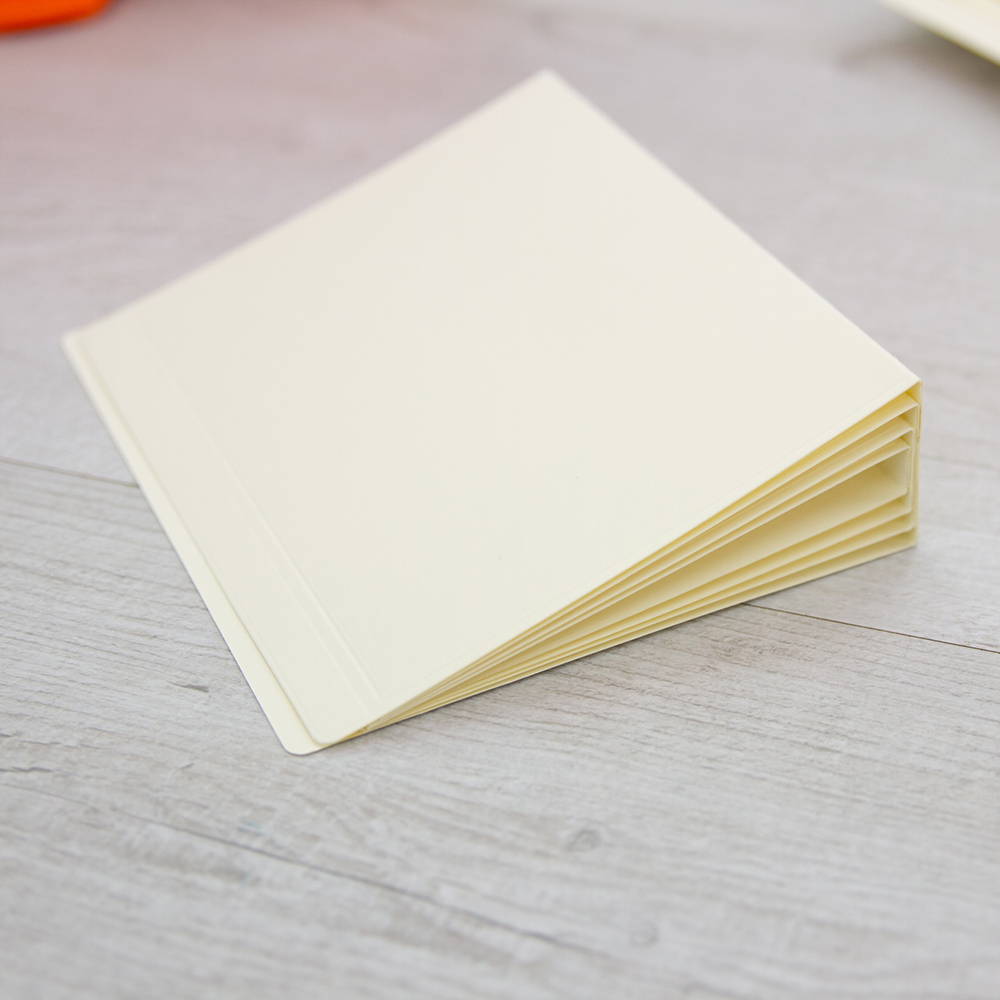
To enable the pages to fold forwards and backwards onto themselves, you will need to alternate the folded glue tabs Mountain folds and valley folds. The first will be a valley fold to glue to the rear of the first page, the next will be a mountain fold, again adhering to the rear of the next page. Carry on adding however many pages you would like, I have used six.
Step 7
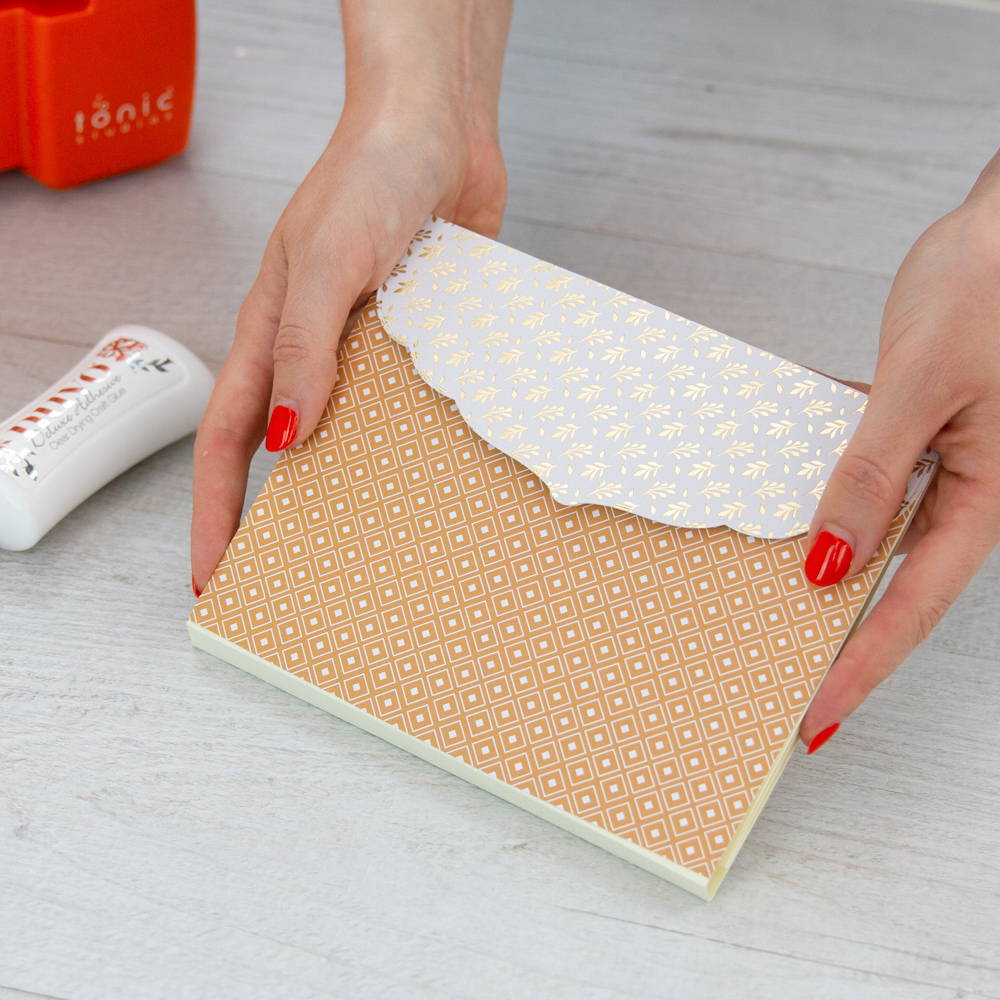
Decorate the book to your own taste.
TOP TIP: Add Magnetic Closures and use your off cuts and layers to disguise them
Simple ‘No Spine’ Memory Book
Step 1

For the covers: Die cut the main outer edge die twice. Trim off the shaped section at the first score line.
Step 2

Fold each one along the furthest score line, overlap and glue these together. They form the spine.
Step 3

For the pages: Die cut six of the same outer edge die, trim off the small scored section on each one. Trim off the shaped section from two at the second score line, two at the third score line and two at the fourth score line.
Step 4

Fold each of these at the first score line to form your pages, overlap and glue each set together.
Step 5

Take your covers and open them so they lay flat, glue the pages at the central spine, overlaying them until you get to the smallest.
Step 6
Decorate your book to your own taste.
Simple Notebook/Journal Cover
Step 1

For the covers: Die cut the main outer edge die twice. Trim off the shaped section at the first score line on one of the die cuts. On the other die cut, fold at the central three score lines.
Step 2

Select one of the ‘Punch Hole’ dies and cut this into the single scored section on each of your die cuts.
Step 3

Take the layer die and cut sheets of paper to fill your book. Cut the same ‘Punch Hole’ die into the edge of these.
Step 4
Take a length of bakers twine or ribbon of your choice and lace your covers and pages together.
Step 5
To add a pen holder, cut the rectangular edge die from patterned paper, trim approximately a third from the length and roll around a thick pen so the edges over lap to enable you to glue them together. Adhere this to the side of the inner pages, adding a pen to clip over the edge.
Step 6


Add magnetic closures and decorate to your taste.
TOP TIP: When you cut the paper sheets for inside your book, because of the dotted detail around the edge they tend to stick together. Keep them together like this until you have punched the holes for lacing the book together, then separate.
Buy The Craft Project
