
What is an SVG?
An SVG stands for Scalable Vector Graphic. It is a digital file that allows you to increase or decrease the size of your project without the worry of losing any of its quality, so no more pixelated images. These new SVG files are intended for and are compatible with most leading SVG cutting systems. Please remember to refer to your electronic cutting machine's instructions before purchase, ensuring you have the correct equipment and software to use these files.
How to Purchase our SVG's
Step 1
The first step is to purchase the product like you would with any other product on our website. Then click the add to cart button, and it will be waiting for you once you are ready to check out.
Step 2
Once you've filled in all the necessary details, your SVGs will be ready to download straight from your checkout. Just Click the Blue download button on the right of your screen, and your SVGs will download straight into your files.
Step 3
You will also have an email sent to your inbox letting you know your files are ready to download. Clicking the "Go Download Page" link will take you to this order confirmation page. Just click the blue download buttons as highlighted, and you will have your SVG files sent to your computer.
Step 4
Another way of viewing your downloaded files is by logging into your account and clicking the "VIEW DOWNLOADS" button, which I've highlighted above.
You will be sent to a page that shows you all your purchased SVG files. If you click any of the SVGs, they will download straight away for you.
How To Open Your SVG Files
Step 1

Step 2
Step 3
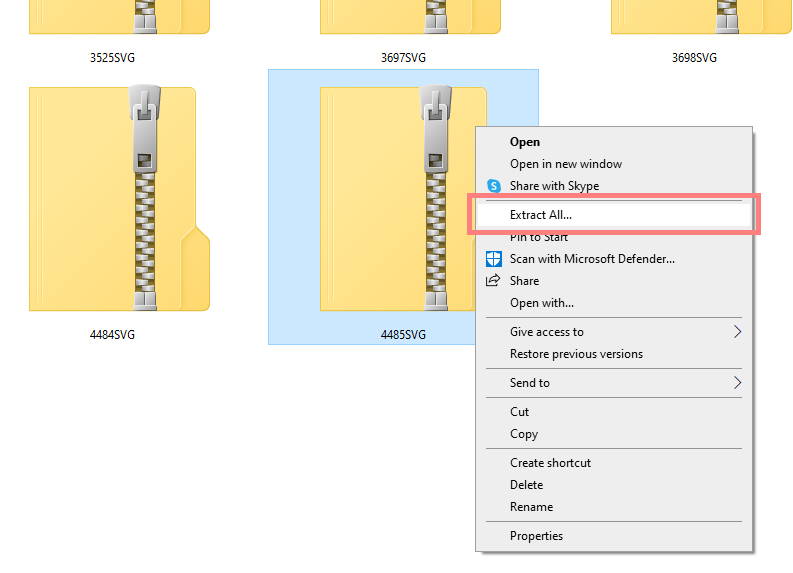
I've highlighted what your extracted folder with look like once you have unzipped it. Your compressed folder will still be there alongside the extracted folder.
Step 4
Click the unzipped folder that I highlighted before, and it will take you to these two folders. Next, click the one that I've highlighted.
Step 5


