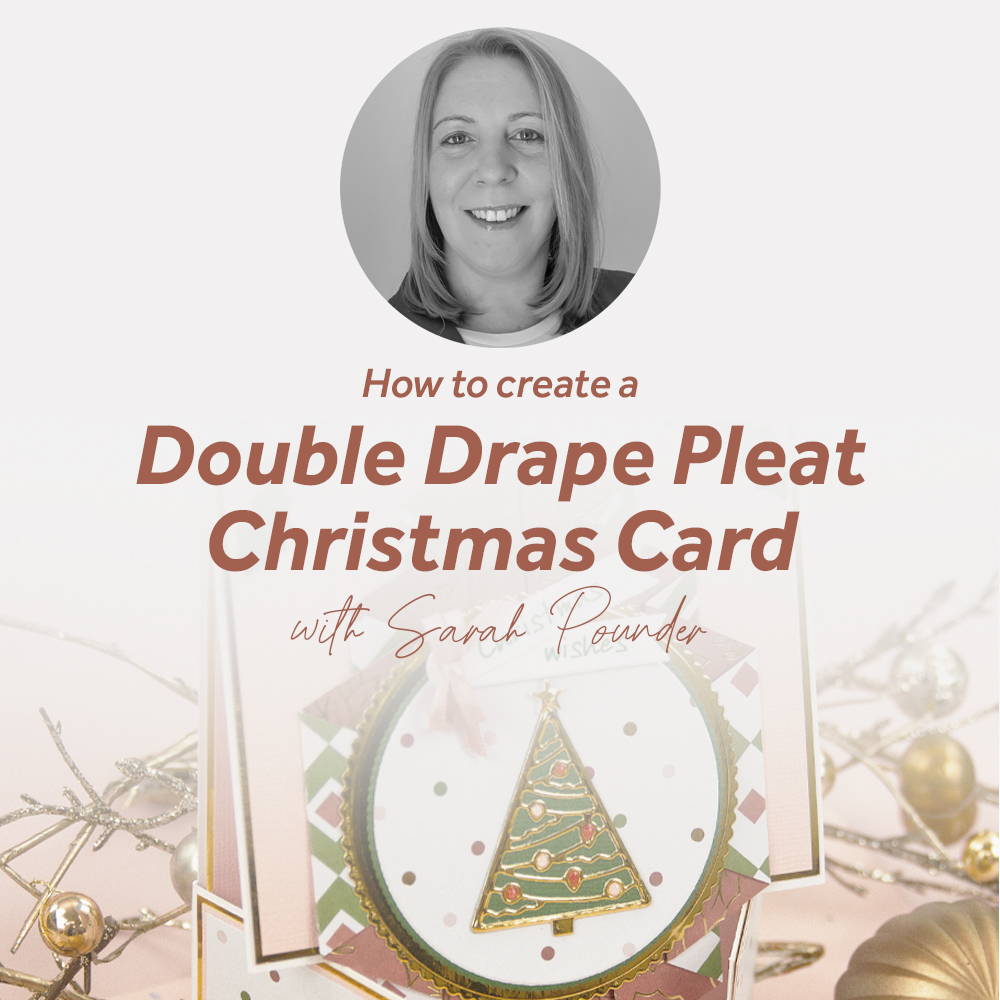

What you will need
- 5 x 11 ½ 300gsm white card
- 2 ¾ x 10 1/8 300gsm white card
- 4 7/8 x 6 7/8 CP polished gold
- 4 3/8 x 4 7/8 CP polished gold
- Two 2 5/8 x 2 3/8 CP polished gold
- 4 ¾ x 6 ¾ CP ballet pink
- 4 2/8 x 4 ¾ CP ballet pink
- Two 2 ½ x 2 2/8 CP ballet pink
- 6 ½ x 11 kit patterned paper
- Two 2 3/8 x 2 1/8 kit patterned paper
- CP Avocado green
- CP brick red
- CP ballet pink
- CP polished gold mirror card
- Nuvo parakeet green ink
- Nuvo red Berry crystal drops
- Nuvo morning dew crystal drops
- Small pink bow
Step 1
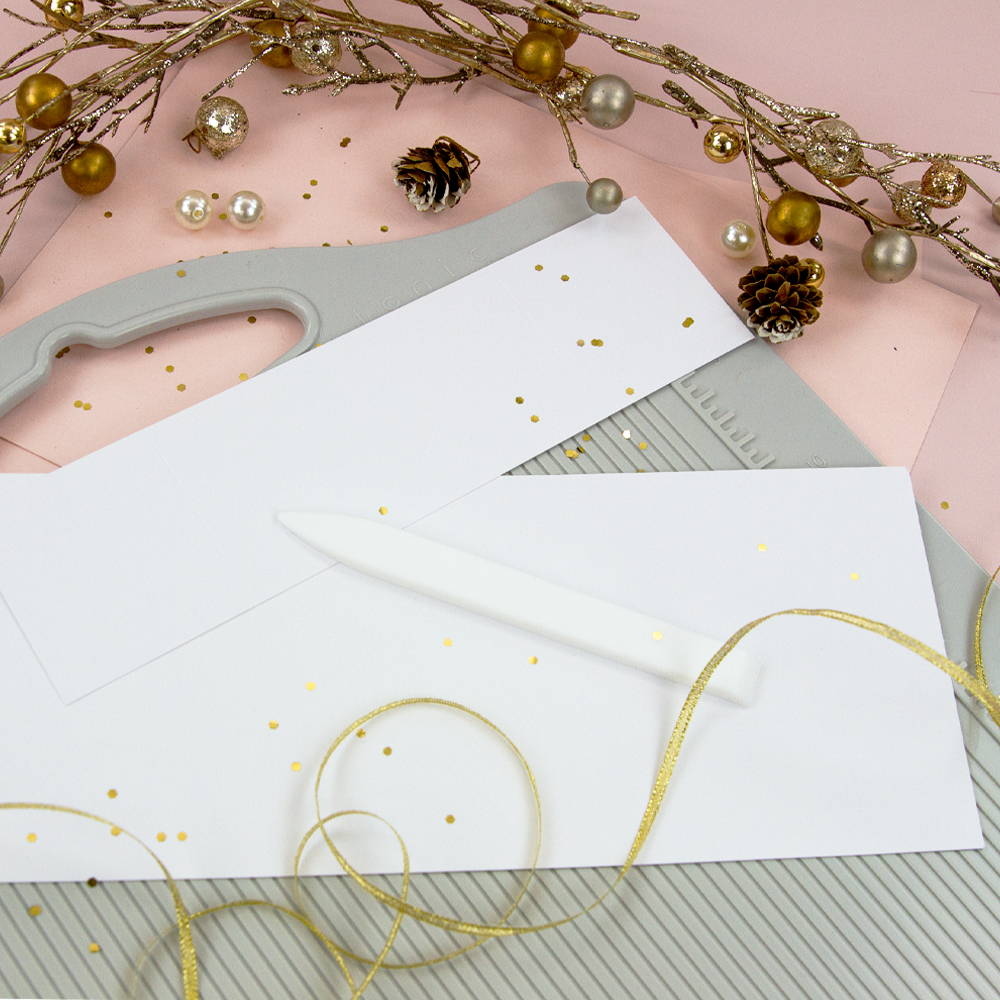
Score white 5 x 11 ½ 300gsm at 7. Score 2 ¾ strip at 2 ½ then rotate and score at 2 ½ again. Adhere the strip to the back of your card base with nuvo deluxe adhesive then burnish the folds around the card base.
Step 2
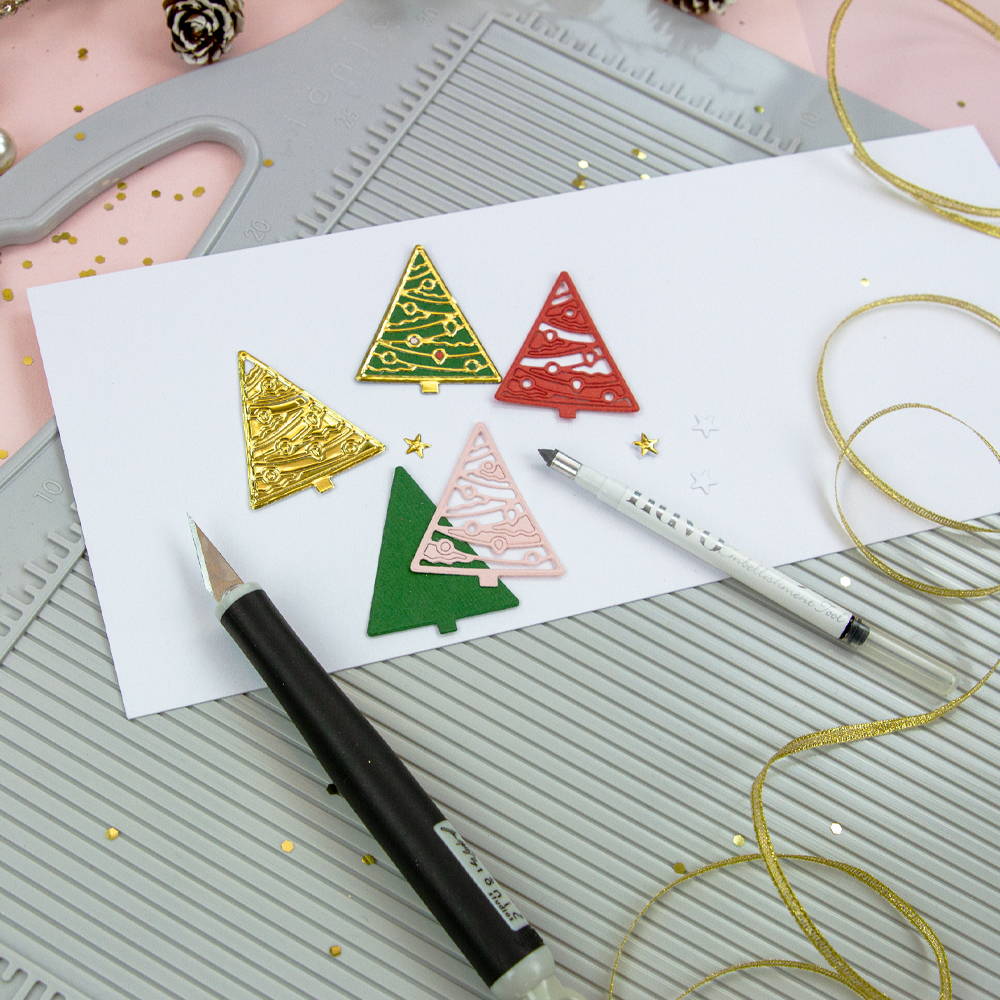
Die cut the tree shape from CP Avocado green, polished gold, brick red and ballet pink. Die cut these with the lights inner die leaving the CP Avocado green intact. Adhere together with nuvo deluxe adhesive and paper piece the lights. Ad the morning dew drops and leave to dry..
Step 3
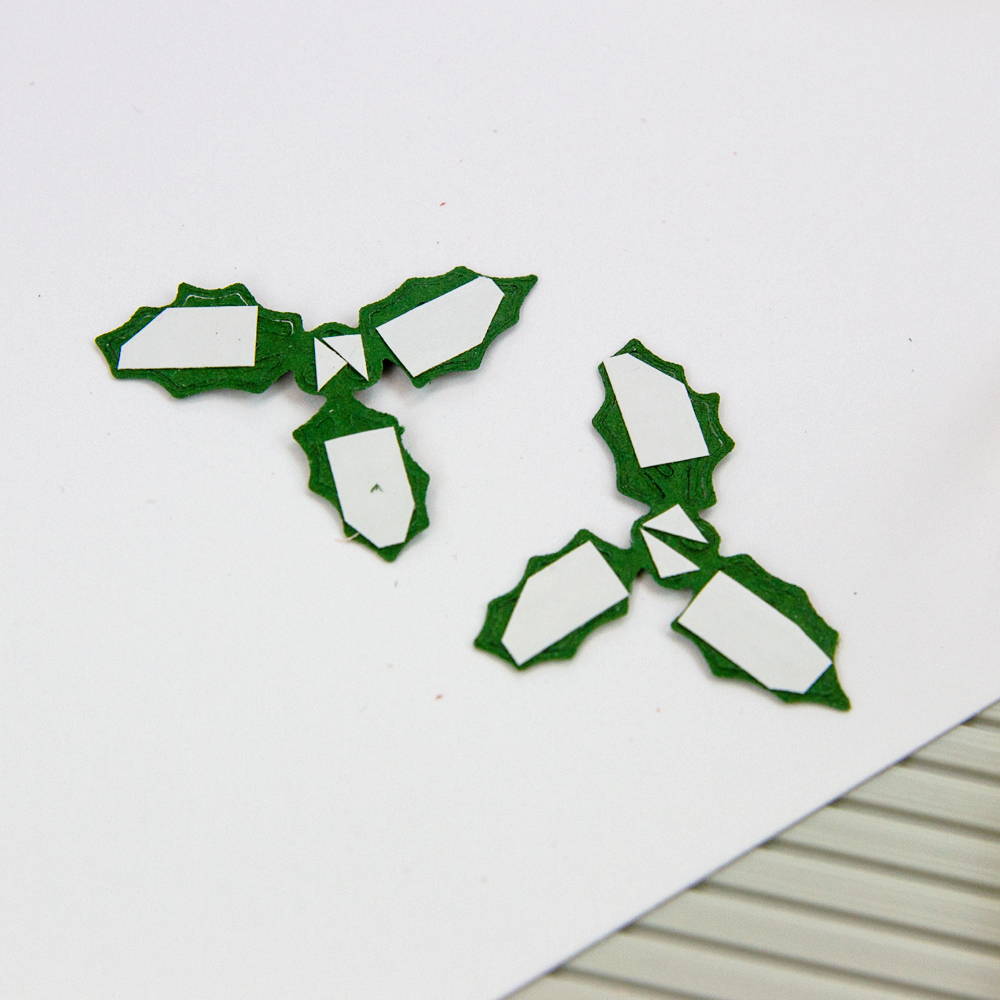
Die cut the holly from CP Avocad green place some CP double sided tape on the back and paper piece. Add the nuvo red Berry drops. Leave to dry.
Step 4
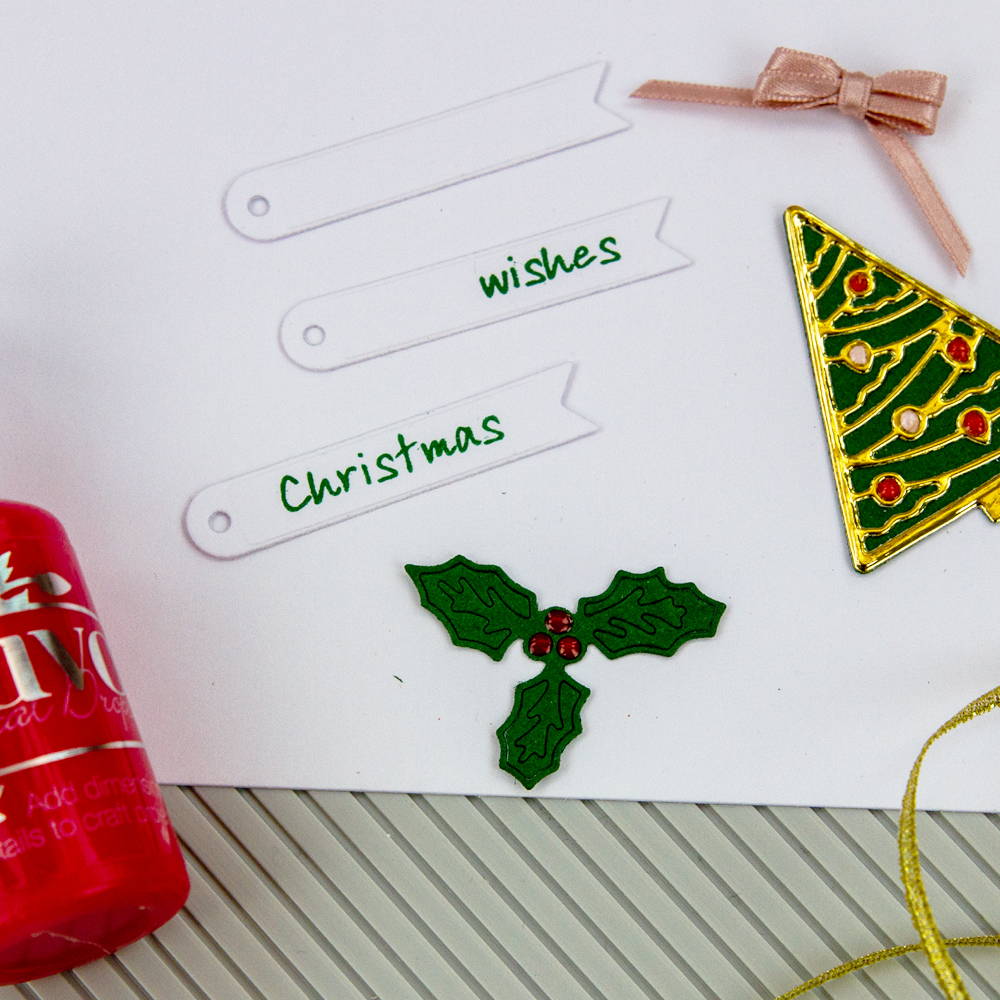
Die cut two tags from white card and stamp Christmas wishes with nuvo parkeet green ink. You can either mask the stamp with tape or cut the stamp apart and do it separately
Step 5
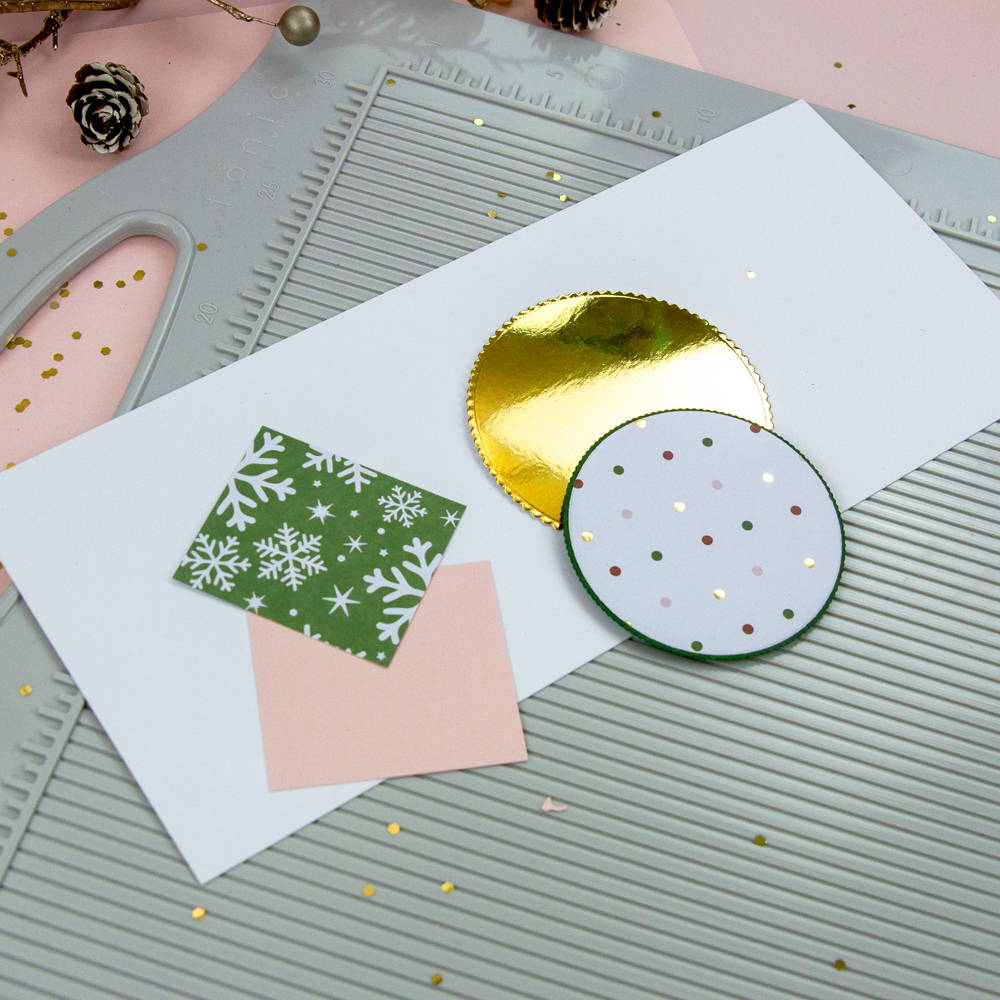
Die cut a scalloped circle from CP polished gold approximately 3 ½”, and a smaller one from from CP Avocado green. Die cut a straight edged circle from kit patterned paper approximately 3”. Die cut three white stars and one CP polished gold.
Step 6
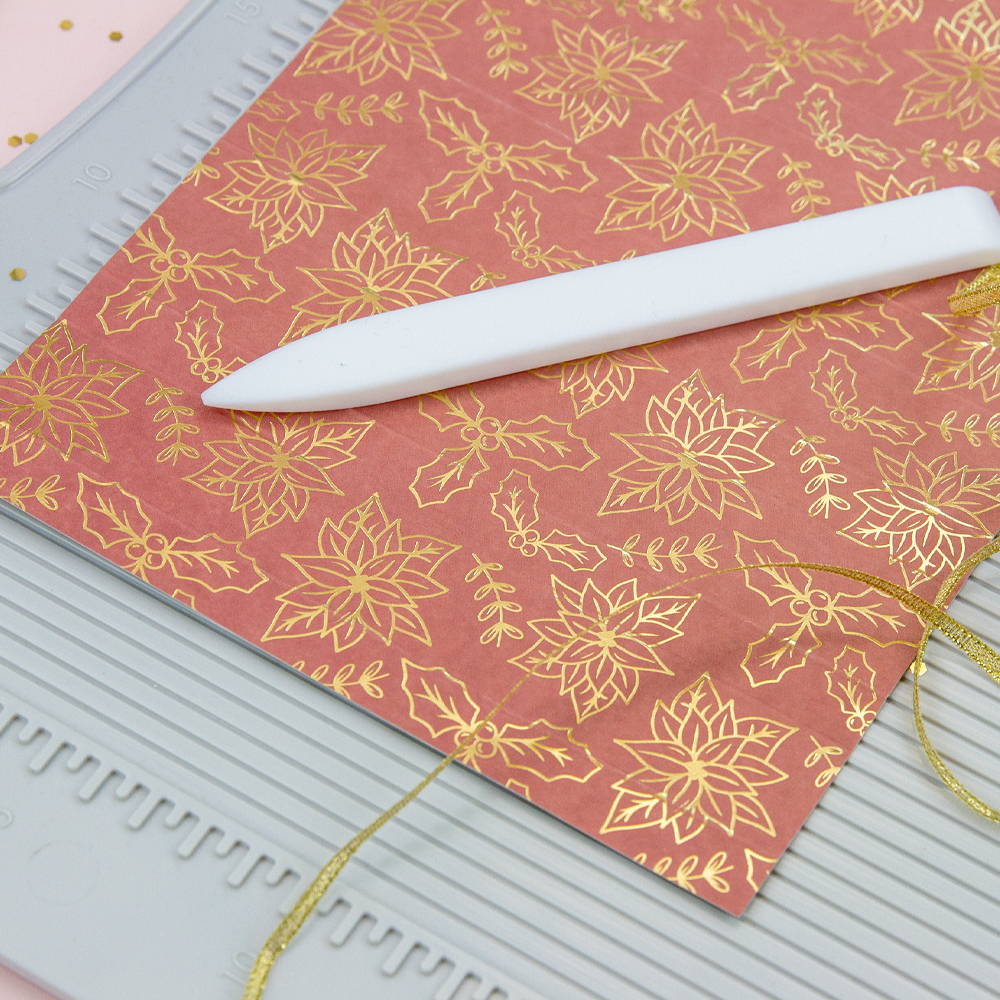
Score your 6 ½ x 11 kit patterned paper at ½, 2, 3 ½, 5, 6, 7 ½, 9, 10 ½ then flip it over and score at 1 ½, 3 4 ½, 6 ½, 8 and 9 ½.
Step 7
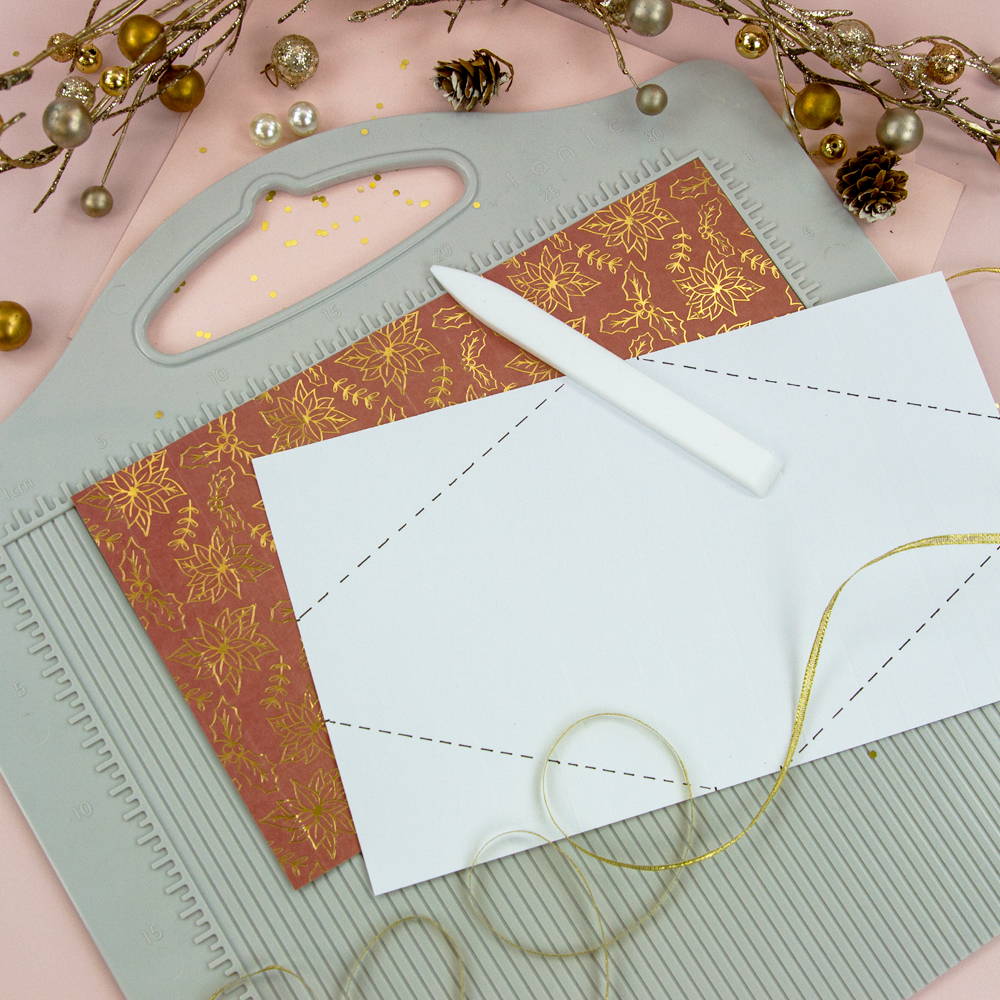
Place a tiny mark at 2 ½ and 4 on the sides and 5 and 6 top and bottom. Using either your Tonic trimmer or Tonic guillotine to cut the corners off, trim from the left mark at 2 ½ up to the mark at 5 (top), then from the mark at 6 (top) to the mark at 2 ½ (right). Turn and repeat.
Step 8
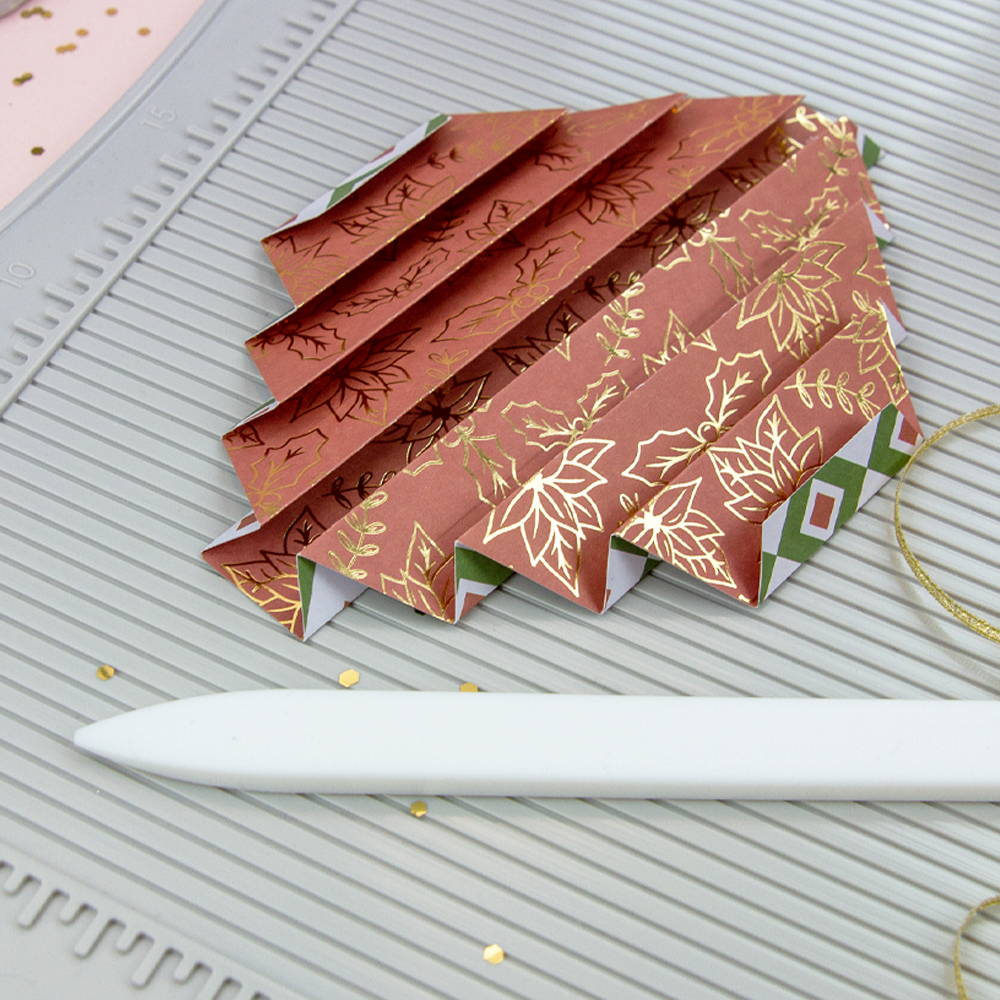
Burnish pleats with a bone folder and add CP double sided tape to the back, only the top half.
Step 9
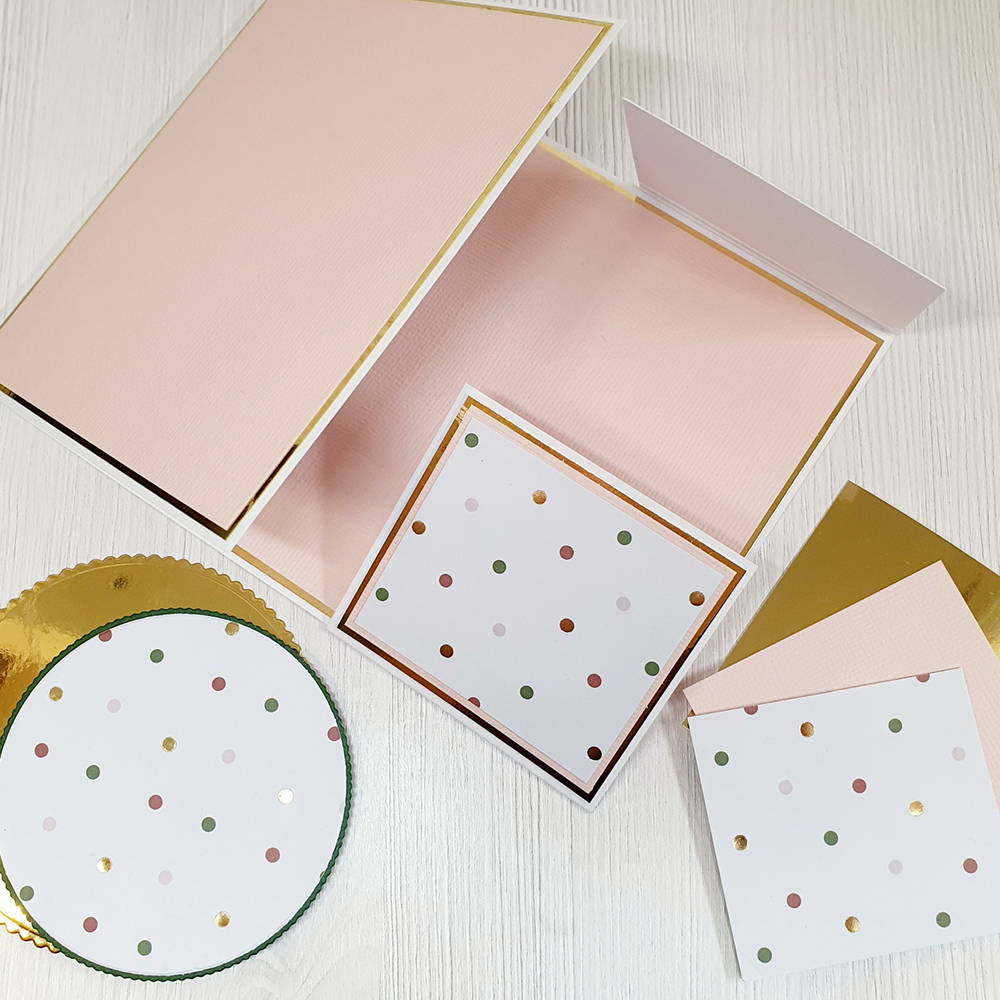
Assemble all the mat and layers for your base card using nuvo deluxe adhesive. Adhere the patterned circle to the CP Avocado green circle using nuvo deluxe adhesive then attach this to the gold circle with CP foam pads. Complete base card.
Step 10
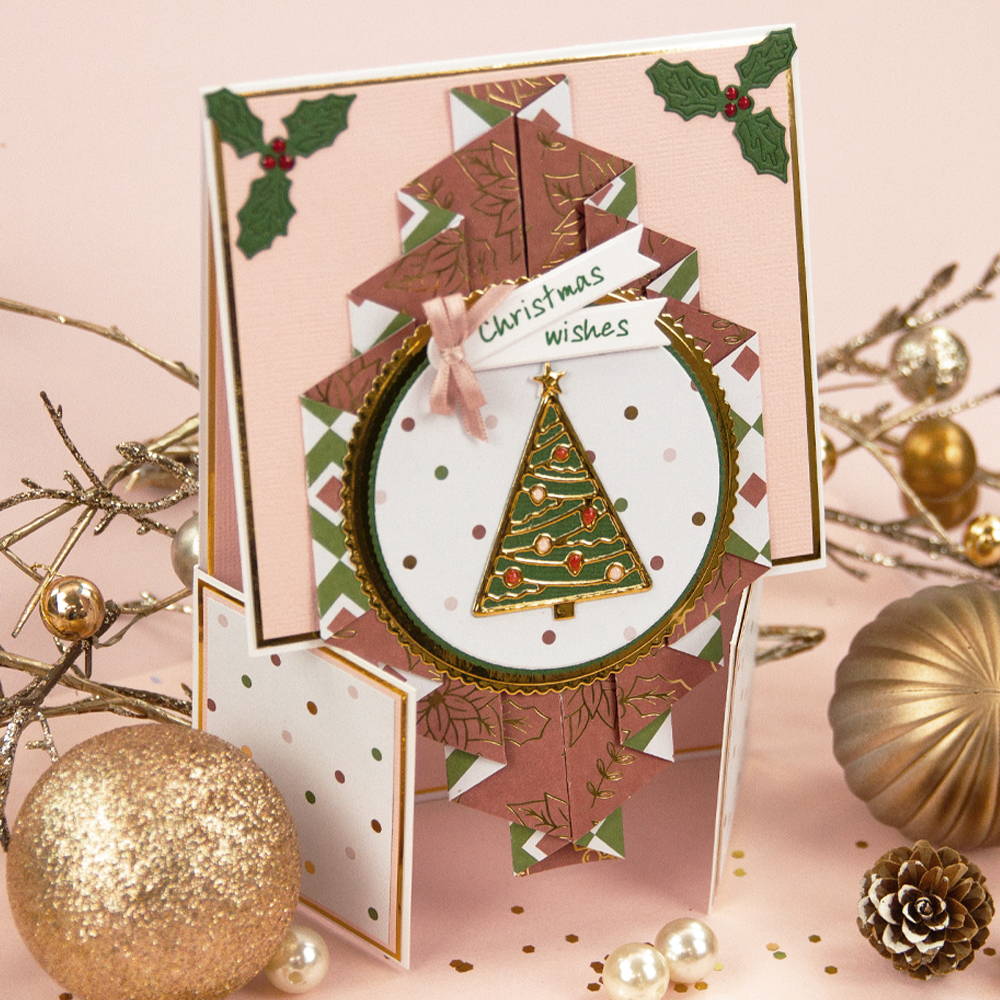
Remove the release paper from the pleated piece and adhere centrally to the card front. Add the tree, tags and bow to the circle topper then attach to pleated piece with nuvo deluxe adhesive. Remove the release paper from the Holly and attach to each top corner.
Buy The Craft Project


