


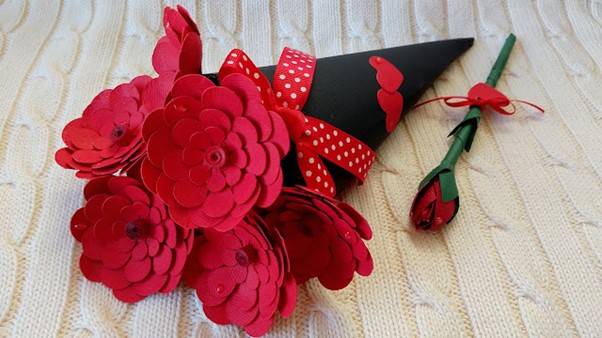
It's almost that time of year again and who doesn't love to get a bouquet of red roses?
What you will need

- Watering Can and Flowers Digital File
- (digital cutting machine)
- Craft Perfect A4 card, Chilli Red, Avocado Green and Jet Black
- Craft Tacky Glue
- Quilling Tool
- Craft Perfect Crafter's Ribbon, Red Polka Dot 16mm
- Craft Perfect Crafter's Ribbon, Chilli Red 3mm
- Crystal Drops, Morning Dew
- Small Heart die (Cookies and Milk Stamp Club)
- Double Sided Tape
- Embossing Tool/Stylus
- Bone Folder
- (Glue Gun)
I've used the flower shapes from the Watering Can & Flowers Digital File to cut out the petals and leaves for both of these but I have rolled green card to make the stems. Craft Perfect A4 card is perfect for this :)
Bouquet Make
Step 1
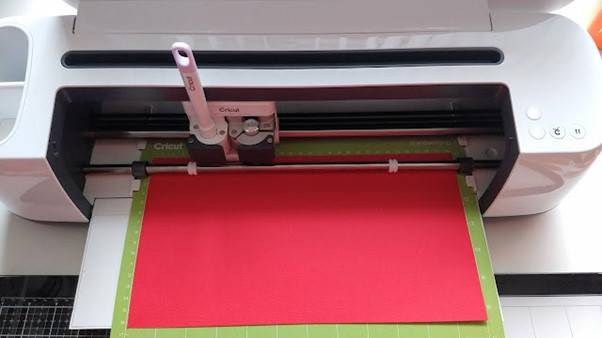
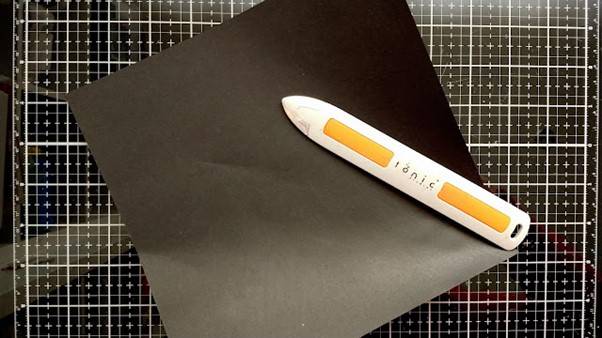
Position the red card on the cutting machine mat. Link to computer.
Step 2
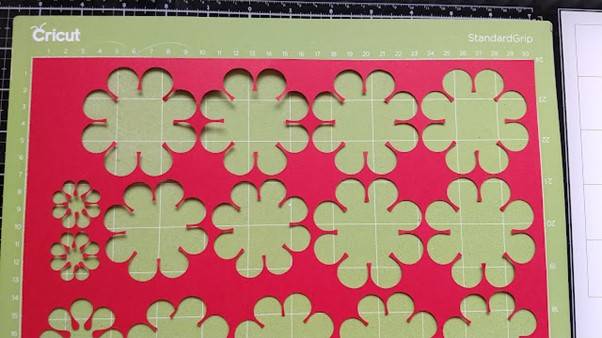
Select the round petal shaped flower and, keeping at the original size, duplicate and cut each part out 6 times.
Step 3

Shape all the flowers with an embossing tool.
Step 4
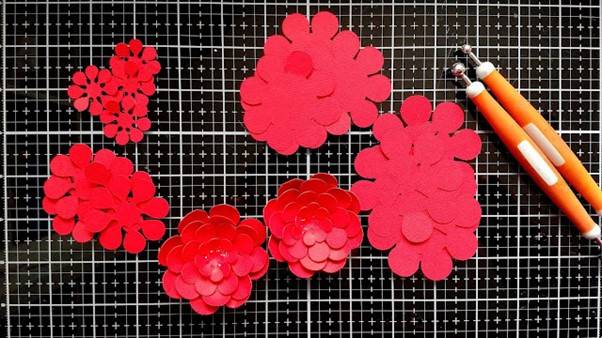
Glue the layers on top of each other to make 6 layered flowers.
Step 5
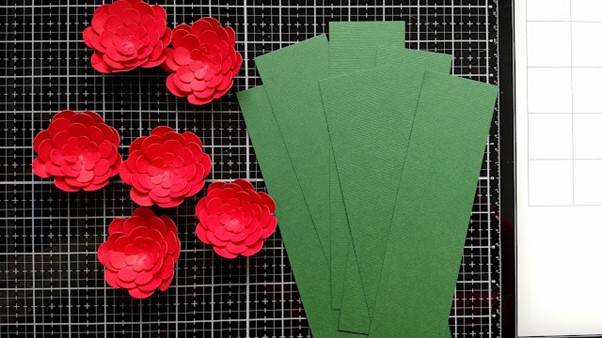
Cut 6 strips of green card measuring 5cm x 16cm.
Step 6
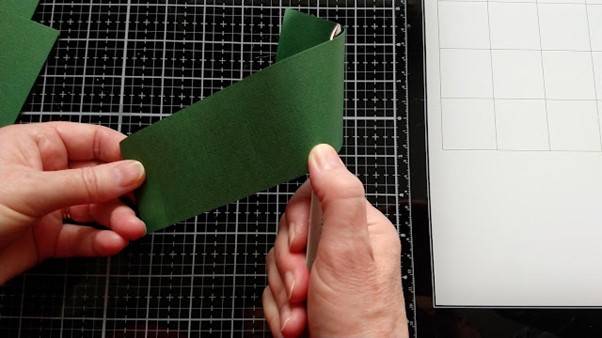
Curl the card with an embossing tool several times in different directions to break down the fibres and make the card more pliable.
Step 7

Twist the card diagonally around a skewer or knitting needle to create a stem. Make 6 stems.
Step 8
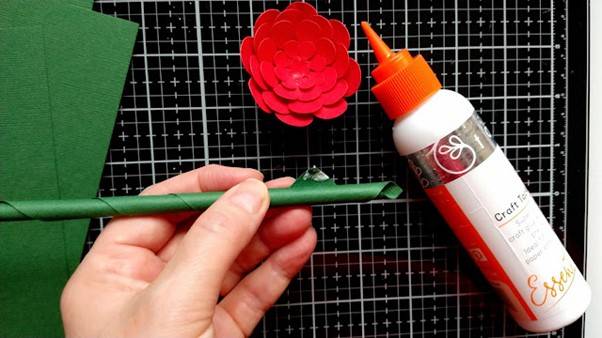
Glue the end in place.
Step 9
Bend over 1.5cm at the top of each stem and add glue.
Step 10

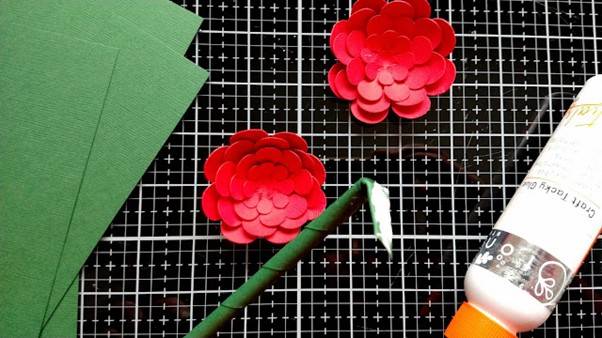
Glue this tab to the back of the flower. Repeat 6 times.
Step 11

Cut 6 strips of red card measuring 0.5cm x 12cm and roll up with the quilling tool. Glue the ends to secure then glue into the centres of the flowers.
Step 12
Cut a 19cm square of black card. Stretch the fibres slightly on the bottom half with a bone folder.
Step 13

Roll into a cone shape and secure the side with double sided tape.
Step 14

Glue the flowers into the cone with the hot glue gun. Add a Polka Dot bow and 2 red die cut hearts.
Step 15

Add Morning Dew Crystal Drops to the flowers and leave to dry.
Single Rose Make
Step 1

Select the petal shape shown and cut out 12 times, Shape with an embossing tool.
Roll 2 petals with the quilling tool and glue together.
Step 2

Add glue to the base of 2 more petals and glue around the first 2.
Step 1
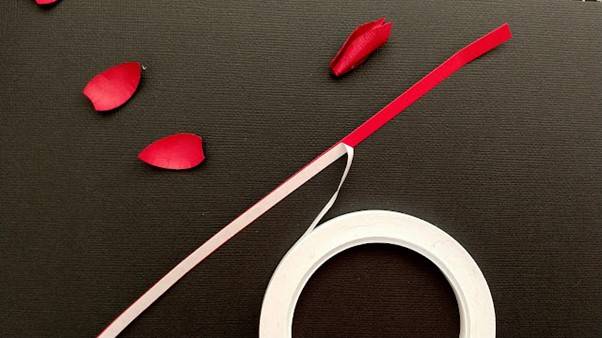
Cut a 0.5cm strip of red card and add double sided tape along it.
Step 2

Attach the rest of the petals in a row leaving a little gap at the bottom.
Step 1
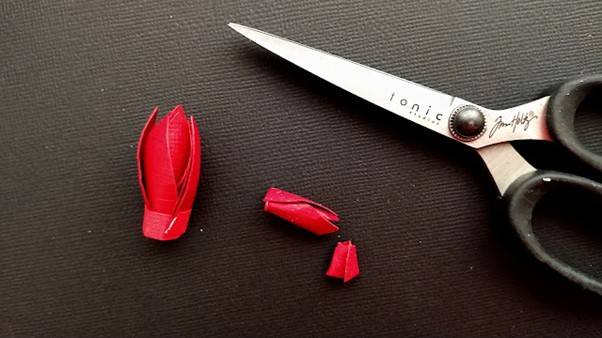
Roll this with the quilling tool and secure tightly at the end. Snip off the bottom of the first little bud petals to fit inside the rolled petals.
Step 2

Make a stem as before and glue into the base of the rose bud.
Cut out several green leaves with the same petal file and shape slightly with an embossing tool.
Step 1

Glue 4 around the rode bud as shown and add 2 more on the stem.
Step 2

Add a heart die cut to the stem with red ribbon.
Buy The Craft Project
