
Hey crafty friends and a very Happy New Year to you all!
Today I bring you this vintage feel card made using the brand new Showcase ‘Loveable Library’ stamp and die set. As soon as I saw the set, it instantly made me think of a ‘shabby chic’ and ‘distressed’ look and made me want to try and combine it with another Tonic product - the ‘Beautiful Memories’ patterned cardstock set. I am a massive fan of kraft card, especially when combined with distress inks; so I thought it might be fun to create a bit of a mixed media layout for this ‘love’ themed card. It is not a valentine’s card in the traditional sense, but I think the sentiments from the set are ideal for use in valentine’s crafts or just as a way of expressing to a loved one how you feel.
As it’s multi-layer, muti-media, there’s a fair few steps to this one… so let’s get crafting!
What you will need
- Showcase ‘Loveable Library’ Stamp & Die set
- ‘Handwriting’ stamp from Stamp Club: Patterns & Prints (or similar)
- Craft Perfect 7x5” card blank - Bright White
- Nuvo Hybrid Inks - Metro Grey & Soft Suede
- Nuvo Embossing Powders - Copper Blush & Glacier White
- Nuvo Chalk Mousse - Coconut Sorbet
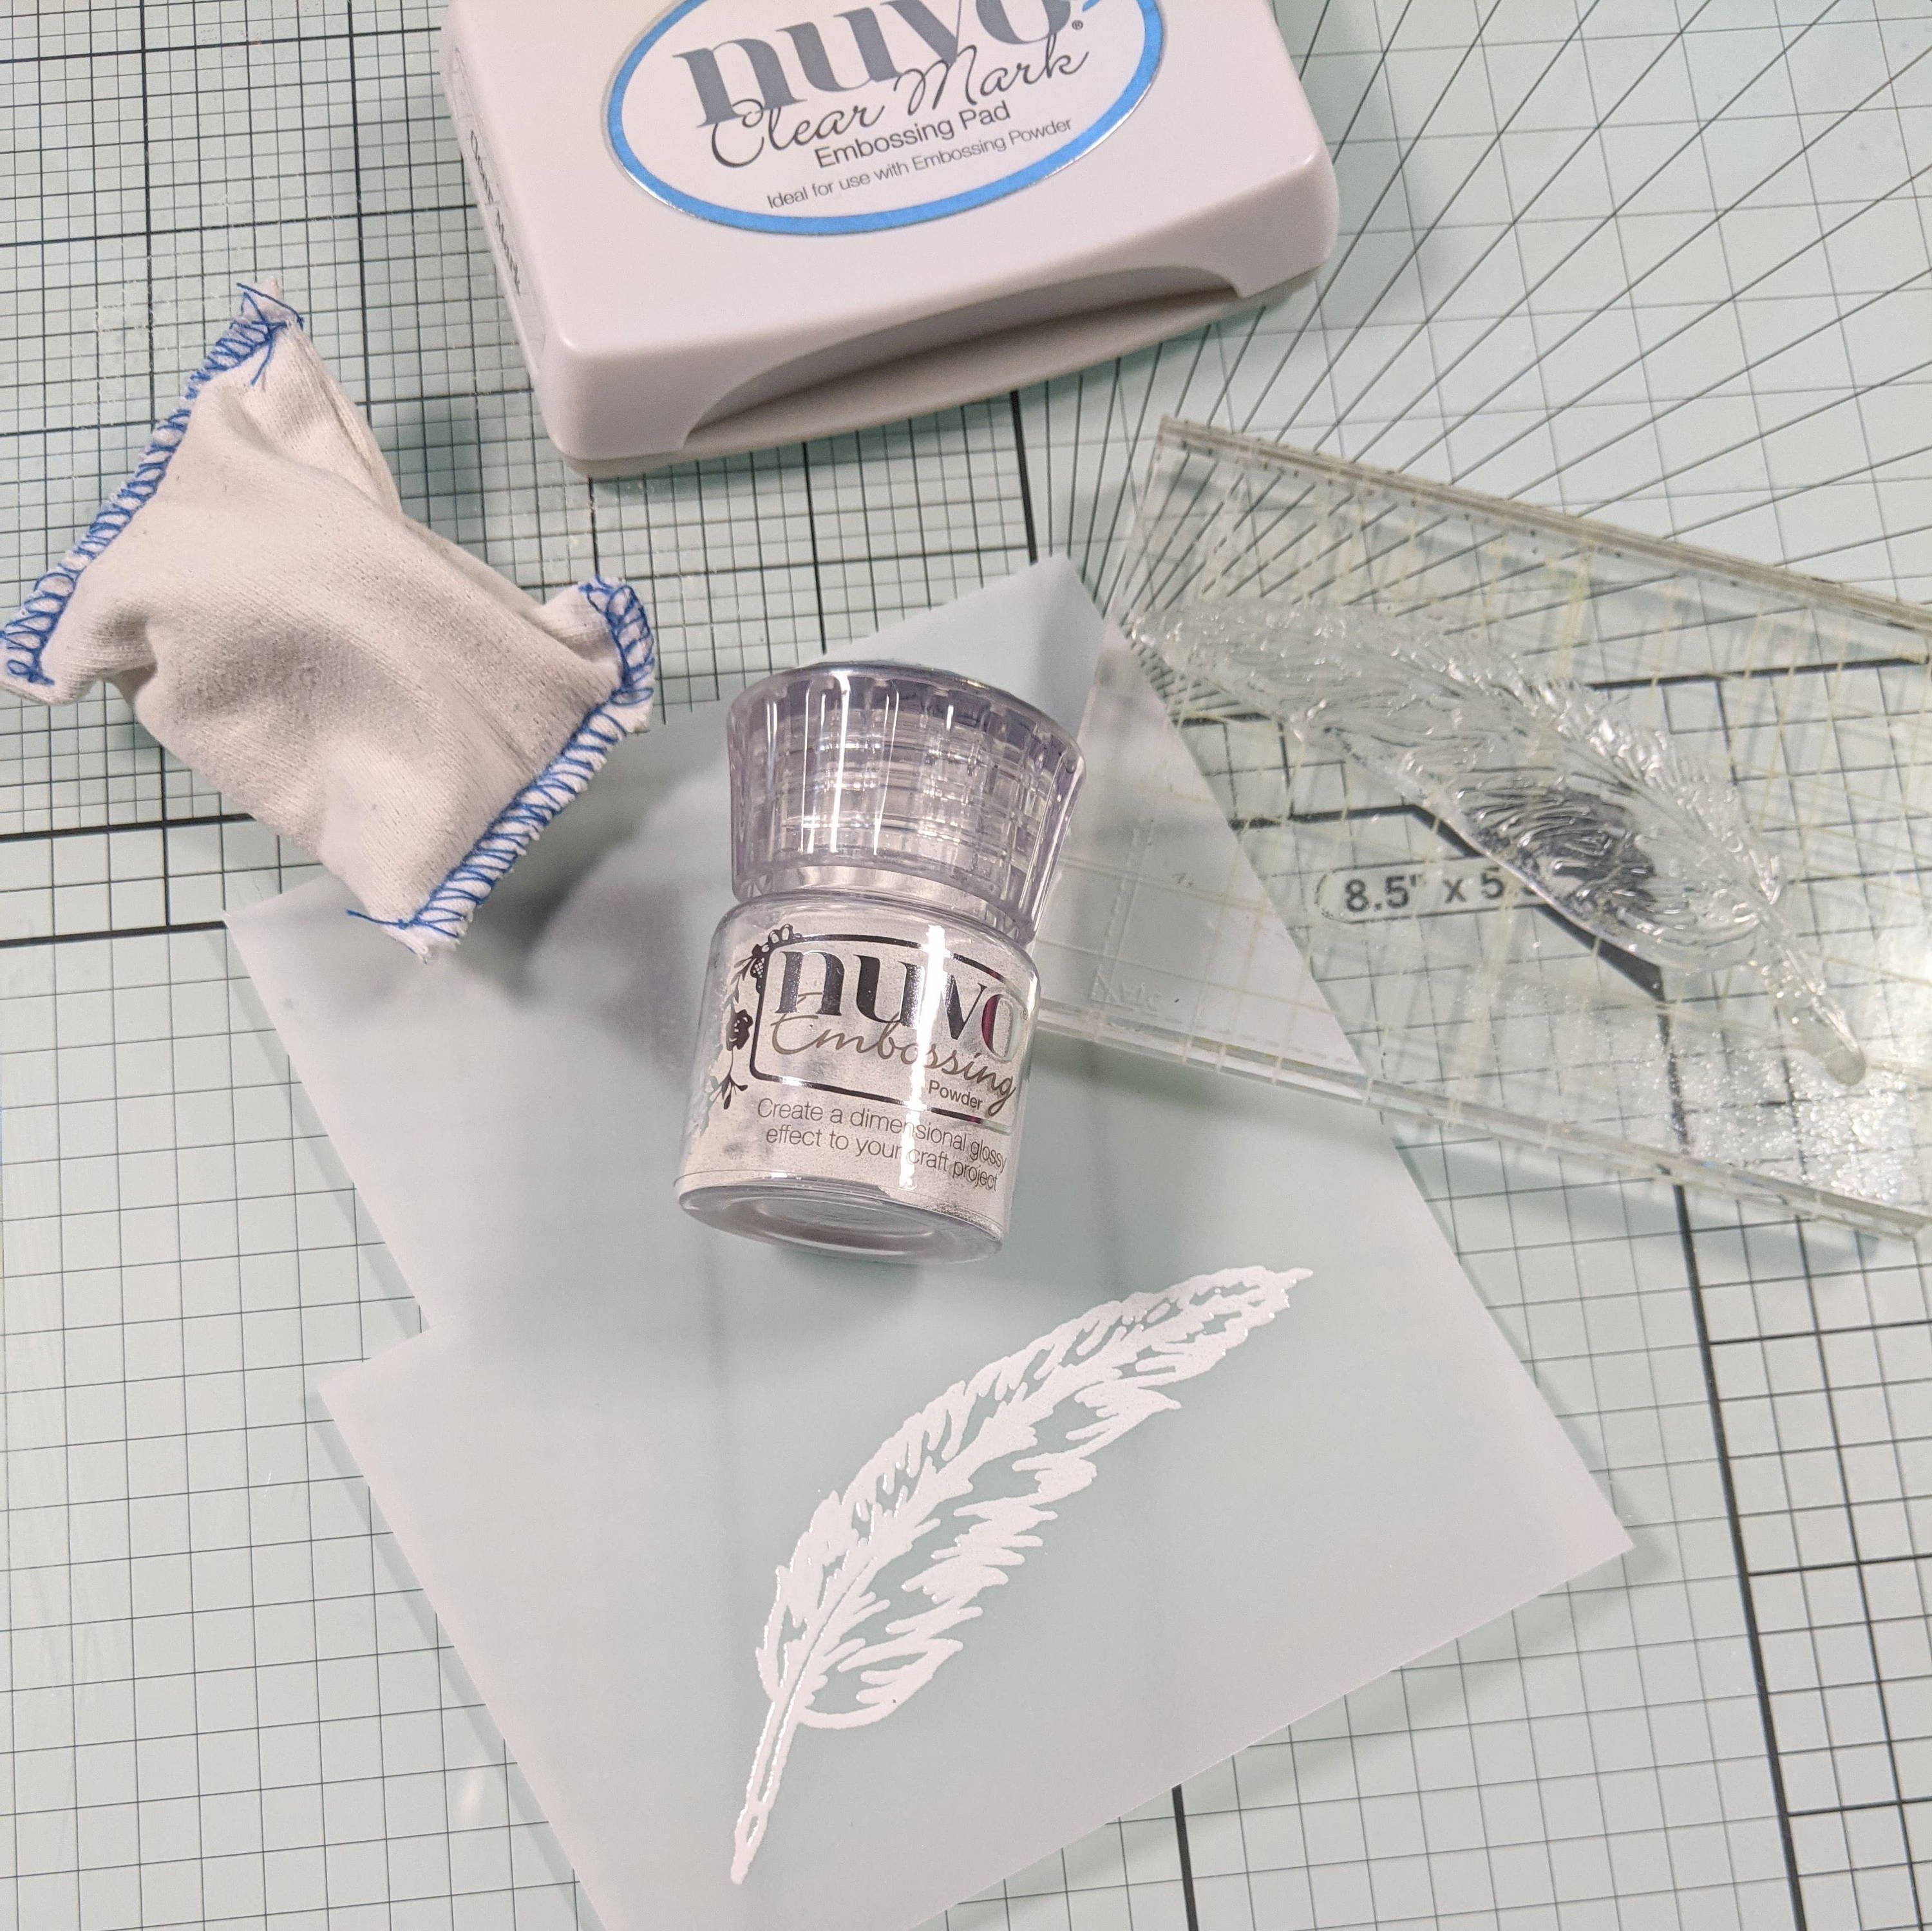
- Nuvo Clear Mark Embossing Ink
- Nuvo Clear Mark Pen
- Nuvo ‘Brilliantly Vibrant’ Classic Colour Pencils
(White Cotton, Imperial Jade, Lemon Grass, Cocoa Bean & Cotton Candy)
- ‘Beautiful Memories’ cardstock set
- Craft Perfect Card - Kraft & Olive Green Classic
- Tonic ‘Simple Hearts’ Stencil
- Craft Perfect - Tissue Tape, Deluxe Adhesive & Foam Pads
- Vellum Paper
- White gel pen
- Stamping platform or clear acrylic stamping blocks
- Tonic Magnetic Crafter’s Platform
- Long bladed scissors or paper trimmer
- Small ‘detail’ scissors
- Heat tool
- Blending Dauber
- Spatula
- Anti-static bag
Step 1

Cut a base 17 x 12cm out of kraft cardstock
Step 2

One of the designs in the ‘Beautiful Memories’ patterned cardstock set contains six postcard designs. Locate this sheet and cut out the bottom right postcard.
Step 3
Using a blending dauber, ink the edges of both the postcard and kraft base in ‘Soft Suede’ Nuvo Hybrid Ink to give them a worn, distressed feel. Finally, add a few splatters of black paint to your kraft base. (This isn’t completely necessary but I do love a good splatter! I think it adds to the distressed aged effect of old paper)


Step 4

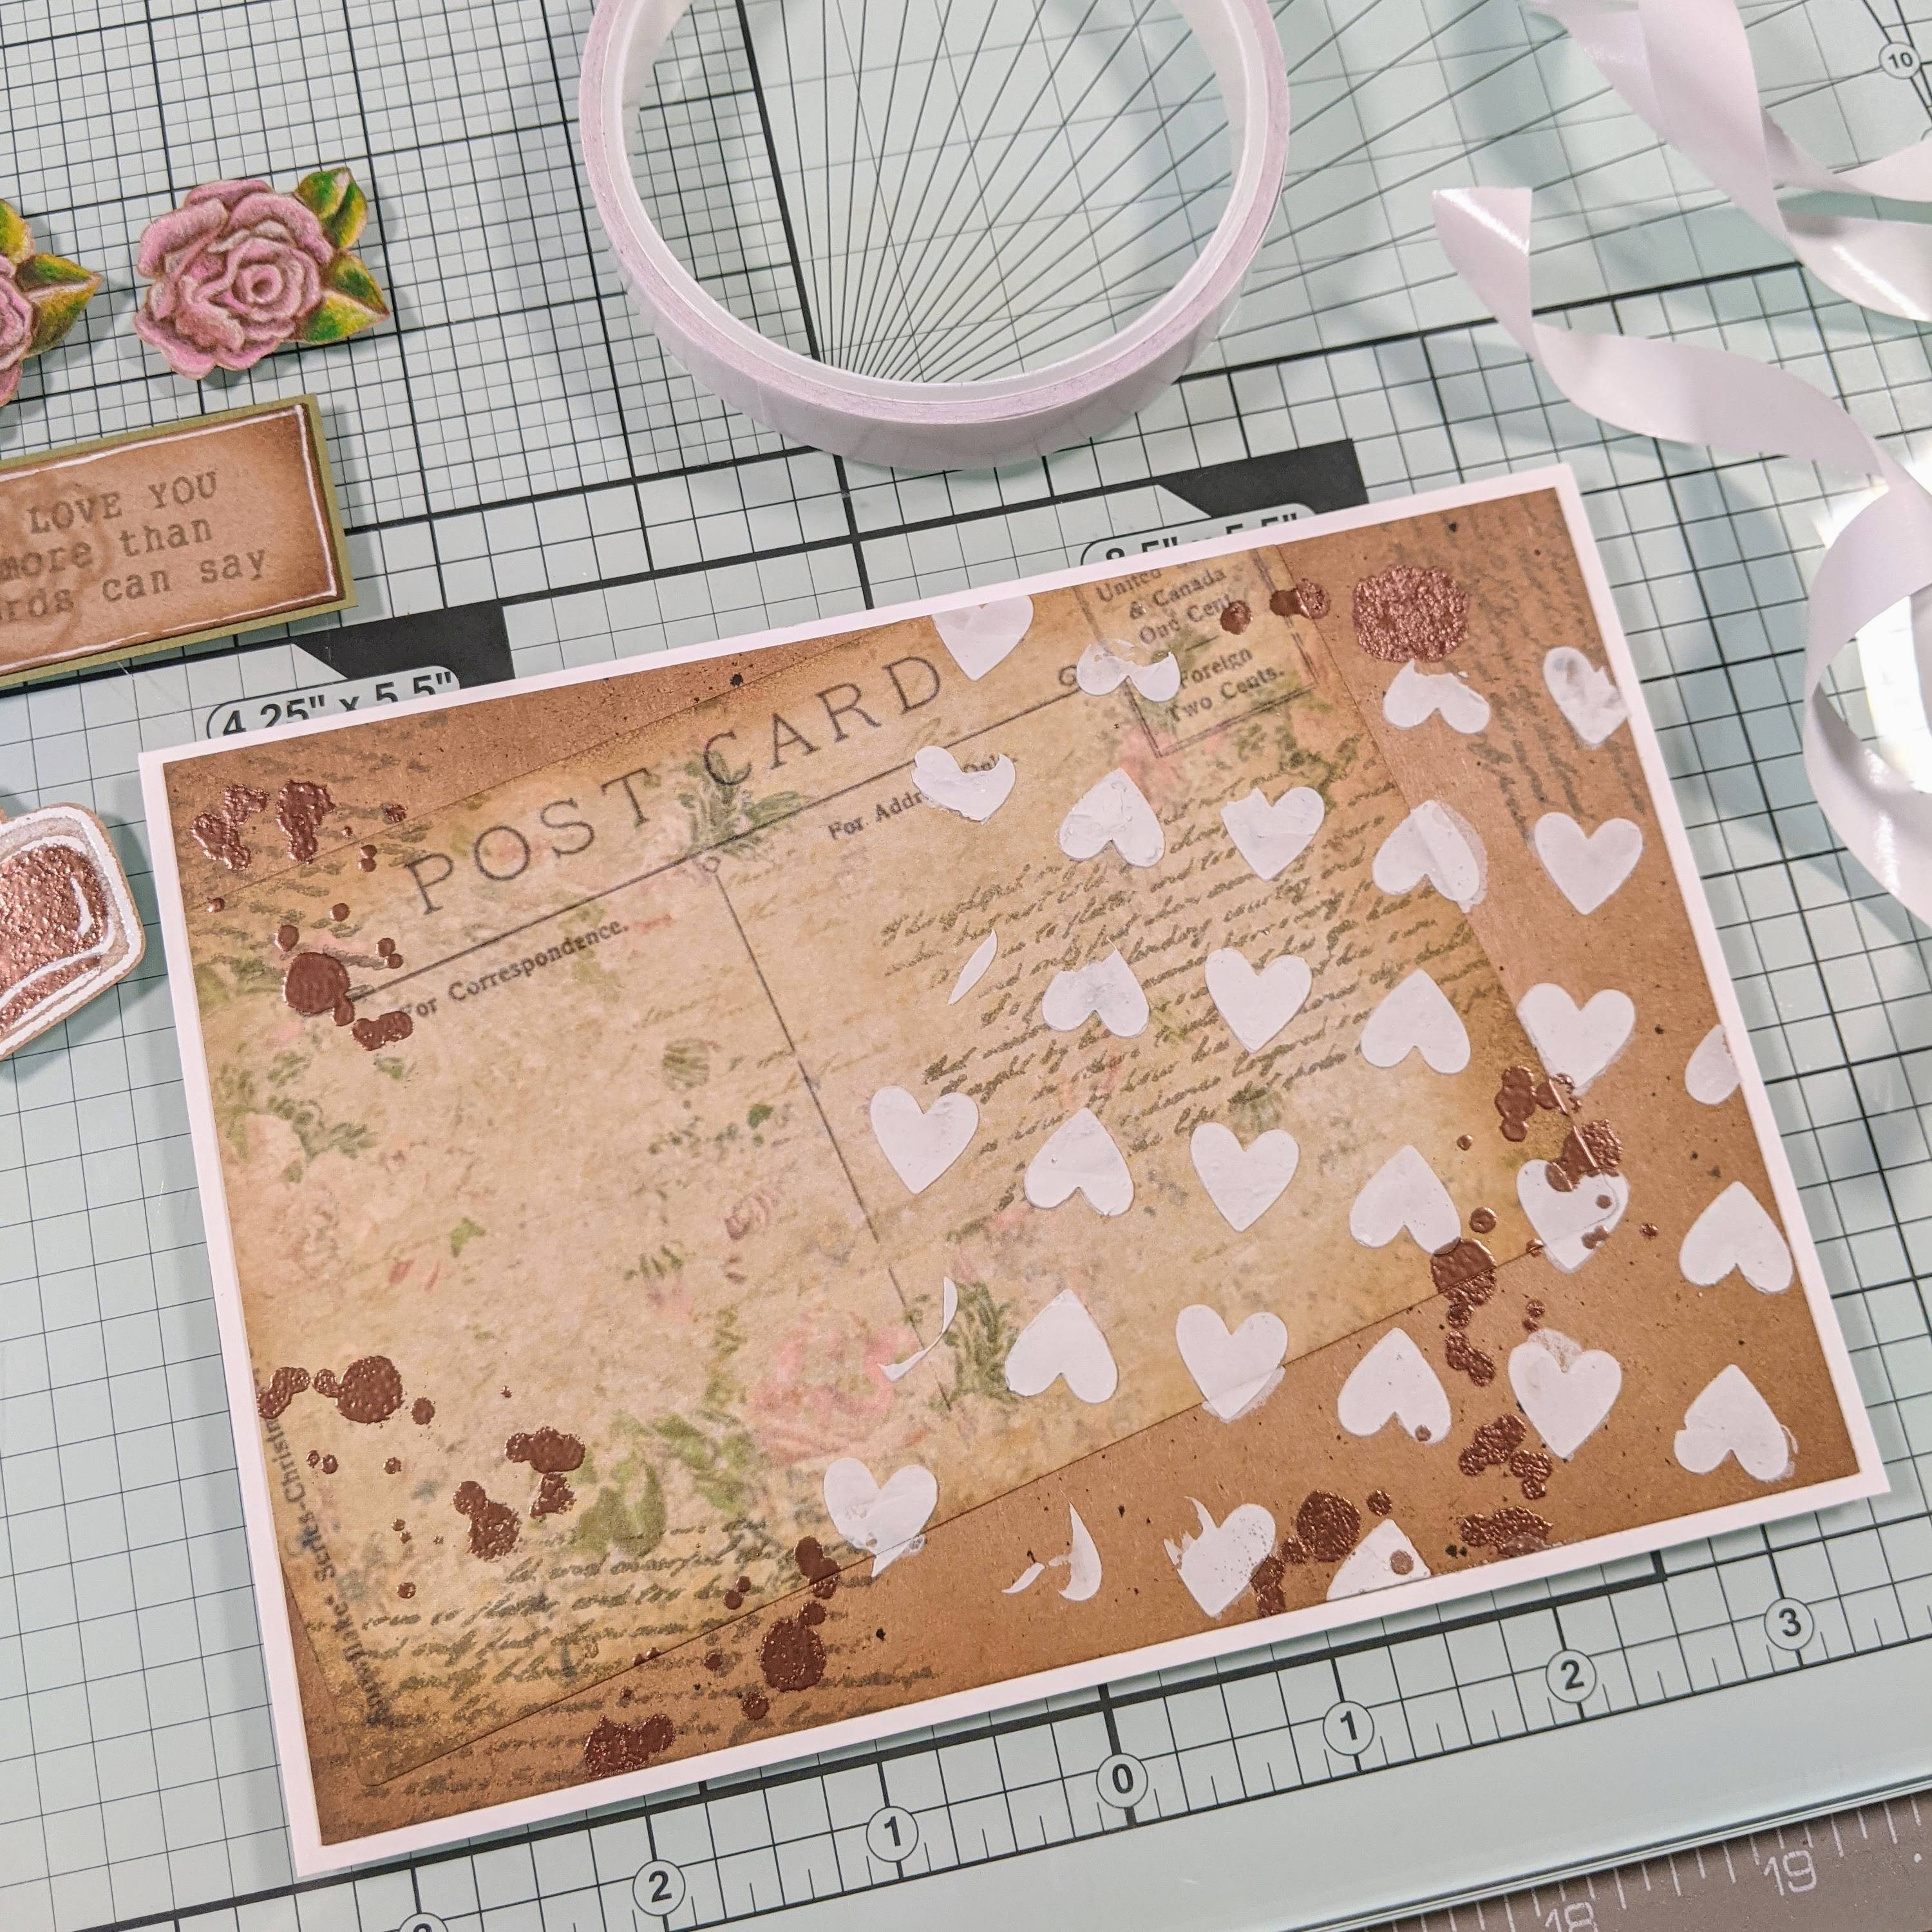
Adhere your postcard to the kraft base at a slight angle and hanging over two of the kraft base edges. The overhang will be trimmed off at a later point.
Step 5

Using the handwriting stamp from Stamp Club ‘Patterns & Prints’ or something similar, randomly stamp in areas across both the postcard and the attached kraft base in ‘Metro Grey’ Nuvo Hybrid Ink
Step 6

Covering the majority of the bottom right-hand-side, lay the ‘Simple Hearts’ stencil approximately as shown, secure into place and then, using a spatula, apply Nuvo ‘Coconut Sorbet’ Chalk Mousse. Try not to apply it to every heart shape or particularly evenly, this will help try and achieve a worn, distressed, uneven look. Set aside to dry.
Step 7

In the meantime, using your Nuvo ‘Soft Suede’ Hybrid Ink, stamp out the rose image from the ‘Loveable Library’ set twice.
Step 8


Colour the rose images using coloured pencils to resemble a similar colour palette to those in the ‘Beautiful Memories’ patterned cardstock.
Step 9

Cut out your roses using fine detail scissors.
Step 10

Once the chalk mousse has dried, in Nuvo Clear Mark Ink, randomly stamp both the larger and smaller ‘ink splatter’ images over areas of the page as shown. Then add the Copper Embossing Powder and heat set using a heat tool.
Step 11


On some vellum, stamp out the feather quill image in clear ink and add some ‘Glacier White’ Nuvo Embossing Powder. (I find embossing powder likes to stick in many ‘unwanted places’ on vellum so an anti-static bag or homemade pop-sock containing cornflour is a really handy tool to have at hand.)
Cut out the feather using fine detail scissors and gently bend it along the centre to give it a curved, more 3D effect.
Step 12

In clear ink, stamp out the rounder ink bottle shape and heat emboss in white embossing powder.
Step 13


Using a clear mark pen, ‘colour in’ the centre of the ink bottle as shown. Then apply and set the copper embossing powder. Using a white pencil, colour the outer edges of the bottle to give it a ‘glassy’ look.
Step 14

Using a paper trimmer or long bladed scissors, trim off the overhanging edges to bring your base back to a rectangle.
Step 15


On kraft card, stamp out the ‘I love you more than words can say’ sentiment in ‘Metro Grey’. Trim around it in a rectangular shape and stamp an off-set rose image in the background in ‘Soft Suede’. Using the same ink, distress the edges of the sentiment. Next, adhere to some ‘Olive Green’ cardstock and trim leaving a thin border. Hand draw an additional border on the kraft card using a white gel pen.
Step 16

Cut out the ‘flower stamp with bee’ image from your patterned cardstock.
Step 17

Attach your cardbase to your 7x5” white card blank. As the kraft card had slightly ‘warped’ from the heat tool, I found the best way to stick it down smoothly was to run tissue tape closely around the edges and use liquid glue in the centre.
Step 18

Glue your ‘stamp’, glass bottle and first rose directly onto the page as shown. For the vellum feather, I used tissue tape (along the bent centre) so it wouldn’t show through.
Step 19


On kraft card, stamp out the ‘I love you more than words can say’ sentiment in ‘Metro Grey’. Trim around it in a rectangular shape and stamp an off-set rose image in the background in ‘Soft Suede’. Using the same ink, distress the edges of the sentiment. Next, adhere to some ‘Olive Green’ cardstock and trim leaving a thin border. Hand draw an additional border on the kraft card using a white gel pen.
And there you have your final, mixed media crossed with shabby chic, ‘love’ themed card!
I hope this has inspired you to have a play around with combining lots of different media to see what effects and layers you can create or to consider perhaps a less traditional approach to your Valentine’s Day cards this year.
Either way, have fun and happy crafting!
Buy The Craft Project


