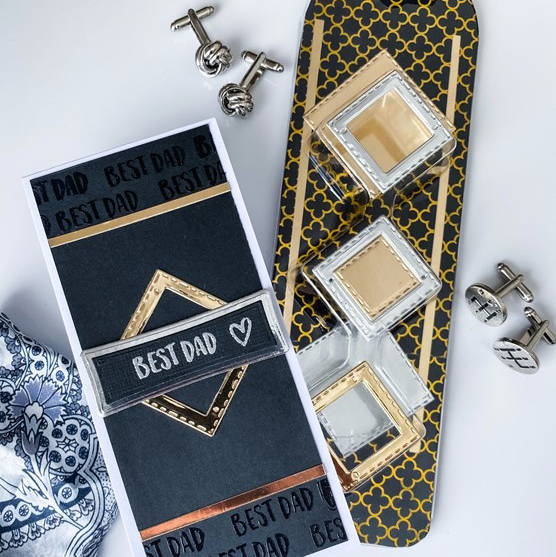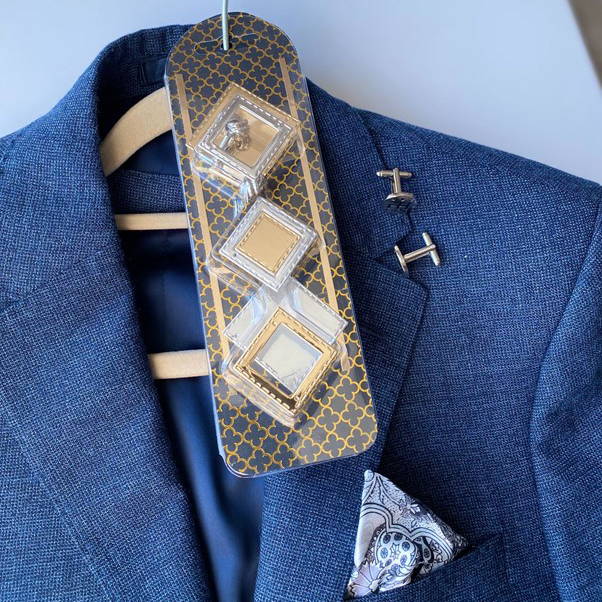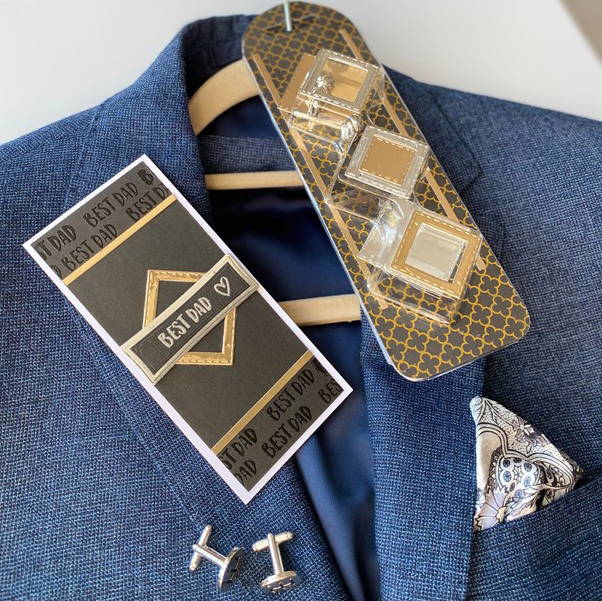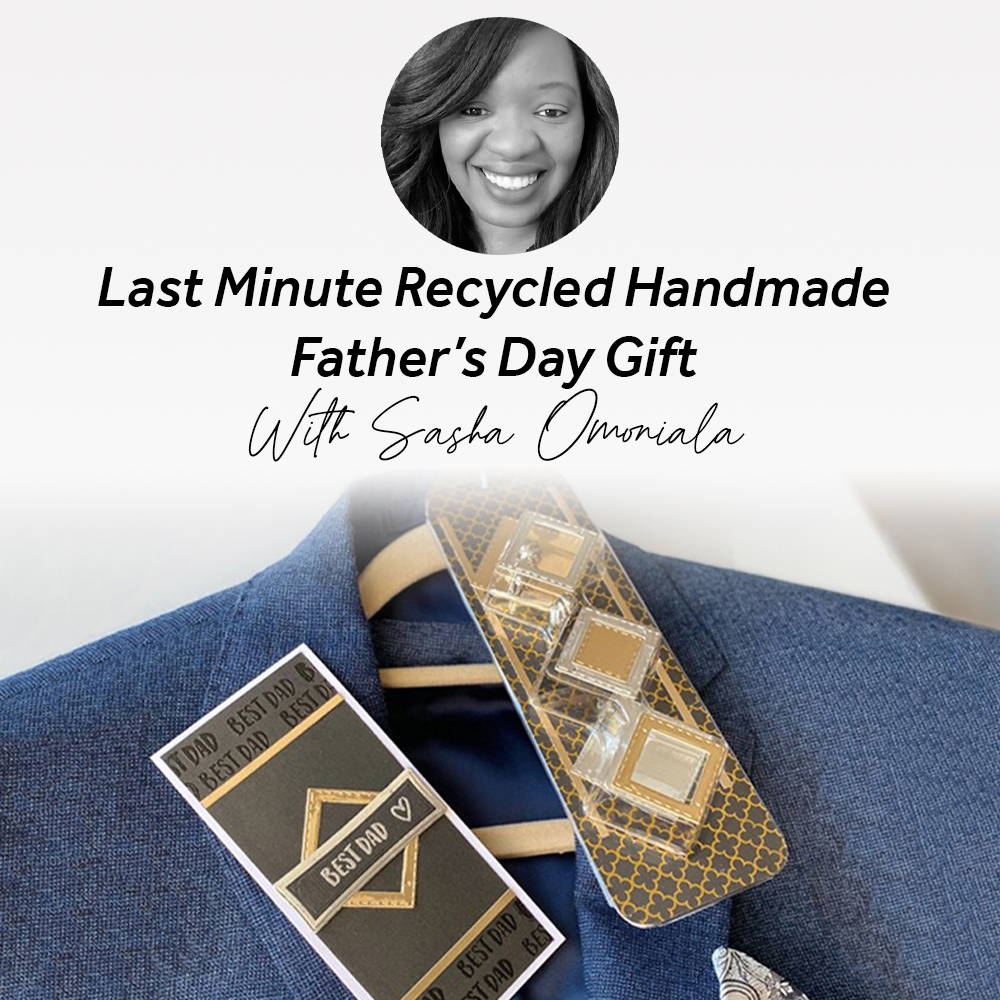

Hello beautiful people, my name is Sasha and I am so honoured to be crafting with you today. The men in our lives are so important so here’s an idea to make this Fathers day that extra bit more handmade with love kind of special. Also you are practically recycling so check you out saving the planet! :)
What you will need

What you will need
- Nuvo Hybrid ink packaging
- Craft Perfect Black and gold foiled kraft card paper pad (or any other paper you like)
- Craft Perfect Harvest Gold Mirror Card
- Craft Perfect Silver Chrome mirror card
- Craft perfect Jet black card
- White card
- Nuvo clear mark ink pad
- Silver/ Gold embossing powder
- Square nesting dies ( approx. 4 x 4, 3 x 3 and 2 x 2 cm)
- The latest Tonic magazine issue stamp set (or any sentiment you want)
- Tonic trimmer
- Tonic scoreboard
Recycled Cufflinks
Step 1
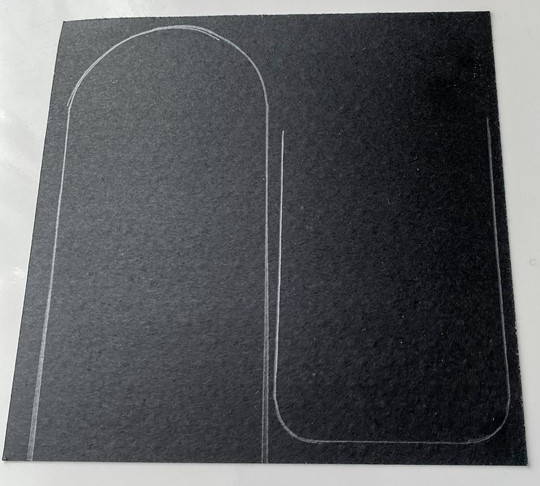
Using a pencil, mark the outline of the card backing of the hybrid ink packaging. This will be your guide for cutting your paper to cover the font and back so make it as accurate as possible. Or less wonky than usual if you are like me :)
Step 2
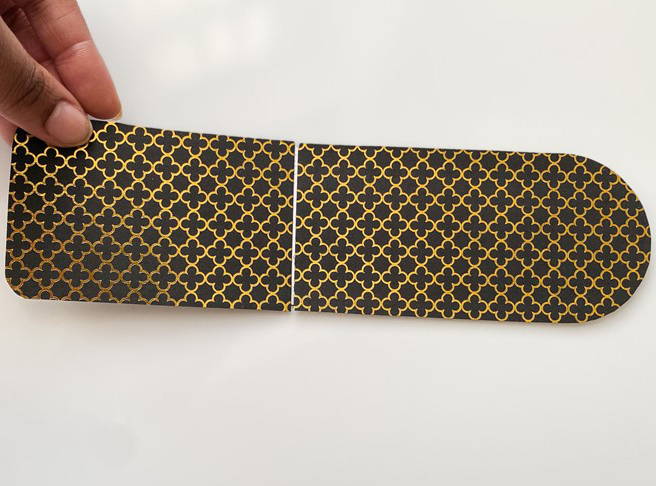
You should have 4 pieces of cover paper. If you are using A4 sheets, just stick it down and move to step 3
Glue the paper down to cover the front and back. It is important that you glue the top curvy half first then align the bottom bit to the edge of the top piece. I hope I haven't lost you but this will make sure the seam is less visible.
Step 3
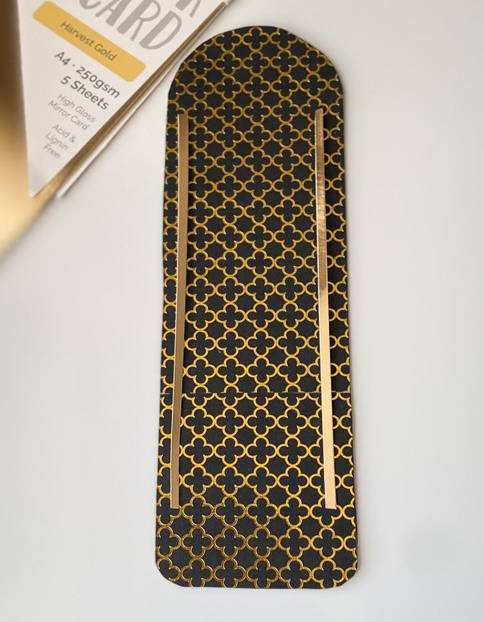
Cut 2 strips out of the harvest gold card using a scissors, guillotine, trimmer, strip die, border die, palette knife or teeth haha!. They need to be about 16cm long. Glue them down about ½ a cm in from the side edges.
Step 4

Using the 2x2cm square die inside the 3x 3cm die, cut 4 frames out of the silver card and 2 frames from the gold. Using the 2x2cm die cut 2 squares out of the gold. Using the 4x4cm die, cut 1 gold and 1 silver square. Hope that didn’t put you out of shape! haha.
Optional Step

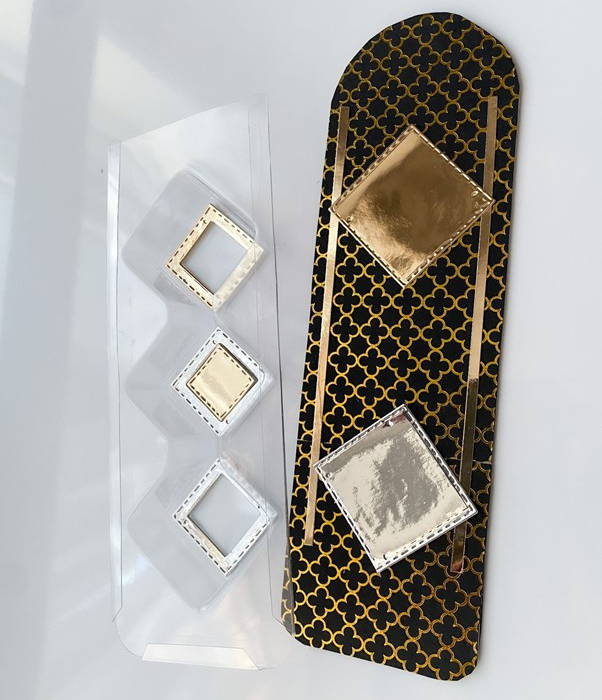
If you are not a perfectionist, then skip this step. Stick the leftover pieces on the inside of the plastic packaging to cover the backs of the top pieces.

Your packaging is done. Fill it with whatever you chose. I filled it with 2 sets of cufflinks and a pocket square folded within an inch of its life haha! If your packaging is too tight to open and close then trim off a bit of the edges. Don’t ruin it now so go extra slow.
Father's Day Card
Step 1

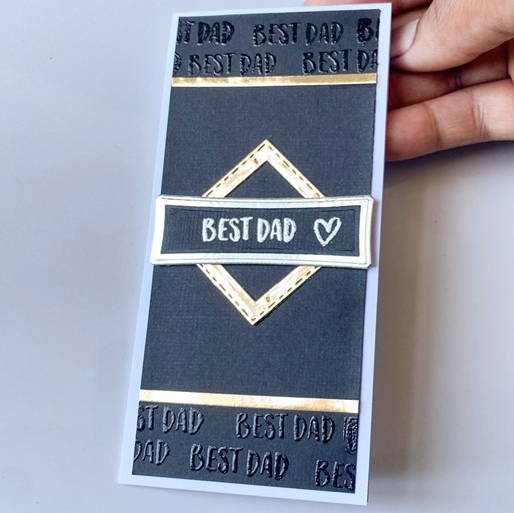
Let’s make a card because what is life without matching things?! Start by cutting a 6x14 cm piece of jet black card. You’ll need a 12cm strip cut into 2 equal pieces and one 4x4cm frame from the harvest gold card. Use a banner die to cut out a black and silver banner piece (silver should be slightly larger than the black)
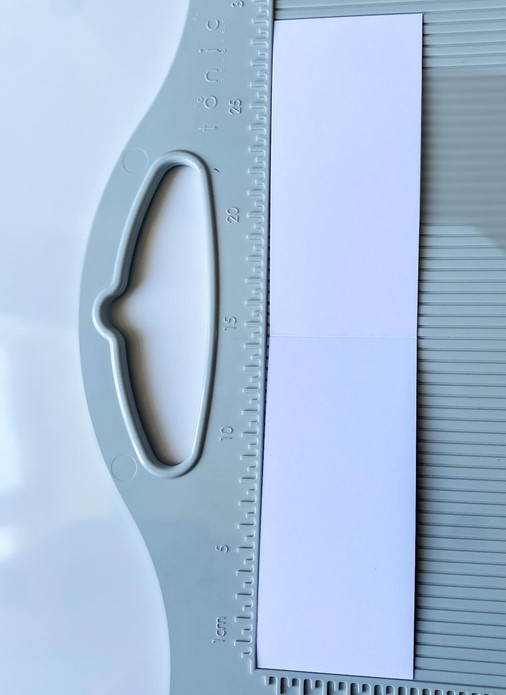
To make your card base, grab an A4 white card and cut it into a 6.5 cm x 29 cm. Score it at 14.5 cm and bob’s your uncle!
Step 2

Take your black panel and mark 2 cm from each short end. You are going to emboss the sentiment “best dad” to cover this space. Prep your paper very well and then emboss with black embossing powder. (you can also use clear embossing powder for this look). Whilst you are here, emboss the same sentiment in silver onto the black banner strip.
Step 3
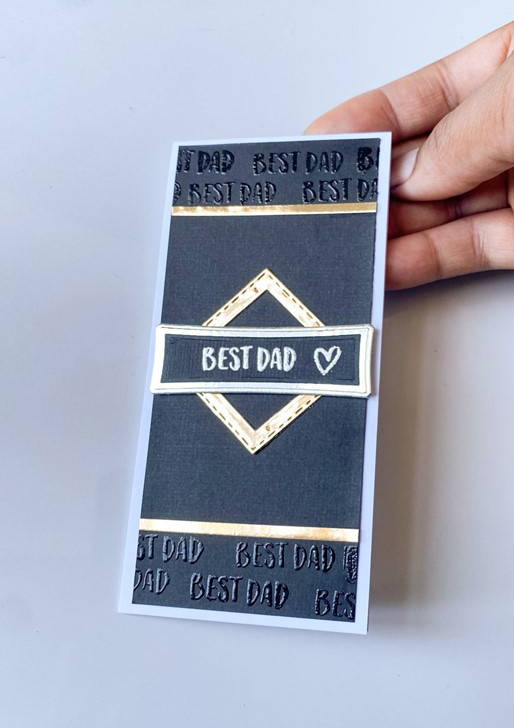
Stick the gold strip horizontally where the black embossed words end. Then stick the 4 x 4 cm square in the middle of your card in a diamond shape. Put your banner pieces together and prop them up on foam tape. Stick your panel on your card base and you are DONE!

Now that you have made one, why not try another?
It's been a pleasure crafting with you lovelies


