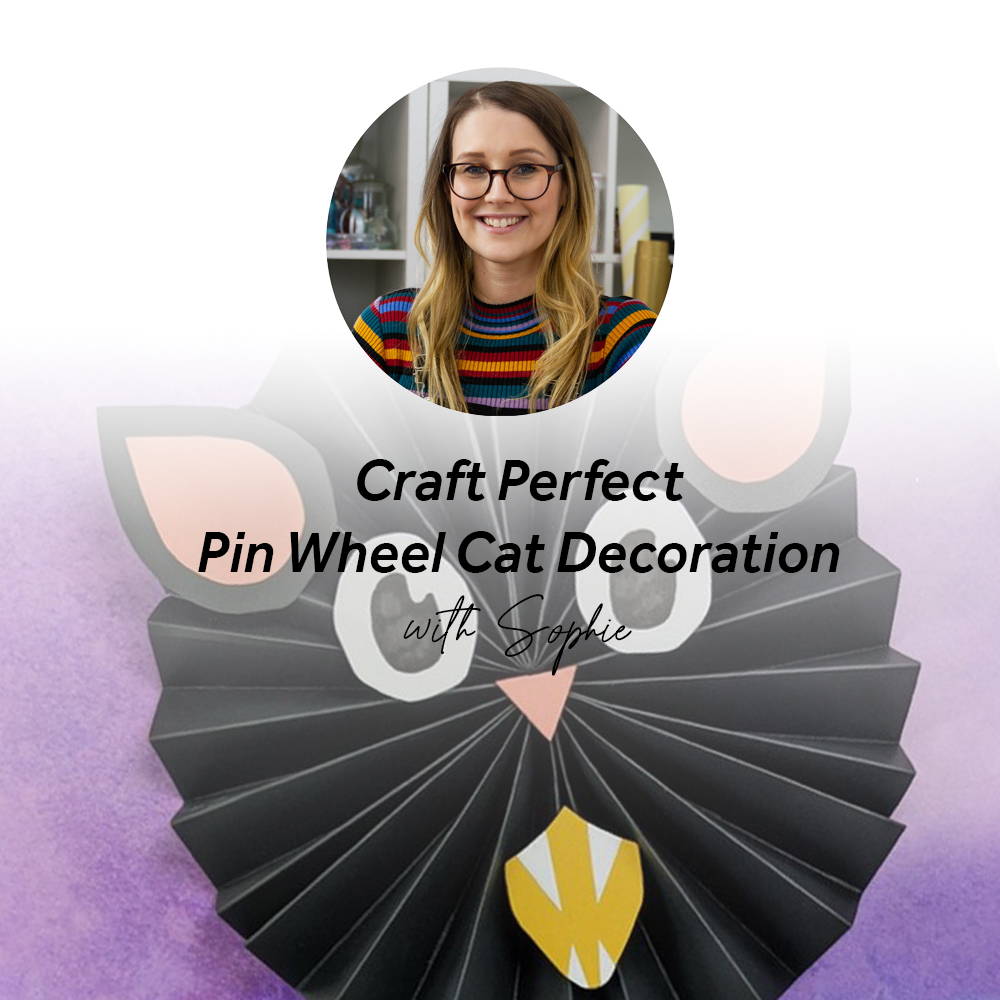

I’m back with another fun Halloween make and this time I’m sharing how I made a pinwheel cat using our 12x12 cards AND our Timeless Tea Jar set!

You will need:
- 3 sheets of 12x12 Craft Perfect in Jet Black
- Craft Perfect Classic card scraps in Bubblegum Pink, Marigold Yellow, Jet Black
- Smooth White Card
- Nuvo Alcohol marker in Pitch Black (or alternative black marker)
- Nuvo Deluxe Adhesive
- Scissors
Bonus items:
- Timeless Tea Jar set
- Tangerine Die Cutting Machine
- Scoreboard & Precision Glide Folder
Step 1

Take your first sheet of 12x12 and use your score board & folder to mark where you will fold the card to make a concertina. Once you have done this you will also need a horizontal line half way down to be able to fold it in half later.
**if you don’t have these tools then folding by hand will also work, you just won’t have smooth edges.
Step 2


To make a nice strong base, add a second pentagon inside as shown.
Step 3


Glue this together with Deluxe Adhesive and repeat the process with the other two 12x12 sheets so you have 3 sections.
Step 4

Use Deluxe Adhesive to glue the 3 sections together.
** You may be tempted to use Red-line tape to speed these steps up, but we need something stronger for the pinwheel to hold together once it’s hung up. Trust me- there was a Pinwheel Cat casualty using Red-line tape!
Step 5


Now we’ve got our pinwheel, it’s time to make some cat features! This is where I used the dies from the Timeless Tea Jar set to get the basic shapes, but don’t worry if you don’t have this, you’ll just have to do more cutting!
First, I used the main die to cut out some black card. I them shaped these with a scissors to look like ears.
Step 6


Next, take your Bubblegum pink card and use the small panel die to get two shapes. Trim these using the scissors again to create inner parts for the ears.
Step 7


Now for the eyes, I followed a similar process with the small panel die from the set.
I then coloured these using my Nuvo Alcohol Marker to make them look like eyes.
Step 8


The mouth! First cut out a small panel shape in Marigold Yellow. Then use the scissors to smooth out the edges and shape as below.
Step 9

Use the long triangle die 4 times on Smooth White Card to make some pointy cat’s teeth!

Step 10


Now we can assemble the mouth by gluing the teeth on to the yellow mouth piece. You should make the bottom teeth a little lower down on the card to emphasise the fangs at the top. Then we can turn the card over and trim off the excess.
Step 11

To finish off we just need a small nose in Bubblegum Pink using the small triangle die- no
trimming necessary! Now adhere these to your pinwheel.
Step 12

Attach some twine to the back so you can hang up your decoration and enjoy!
Buy The Craft Project
Other Timeless Tea Jar Makes

Frankenstein’s Monster Candy Jar
I decorated this Tea Jar using Nuvo Alcohol markers and Nuvo Drops to create the face and hair. I then used some Craft Perfect Metal Sheet in Silver for the bolts. This is one of my favourites! It’s so simple and perfect for stashing those Halloween treats!
Candy Skull Bunting


I used the two large dies from the Timeless Tea Jar set for the Skulls and decorated them with Nuvo Alcohol markers. I then attached them to some twine to create some bunting- perfect for a Halloween party!


