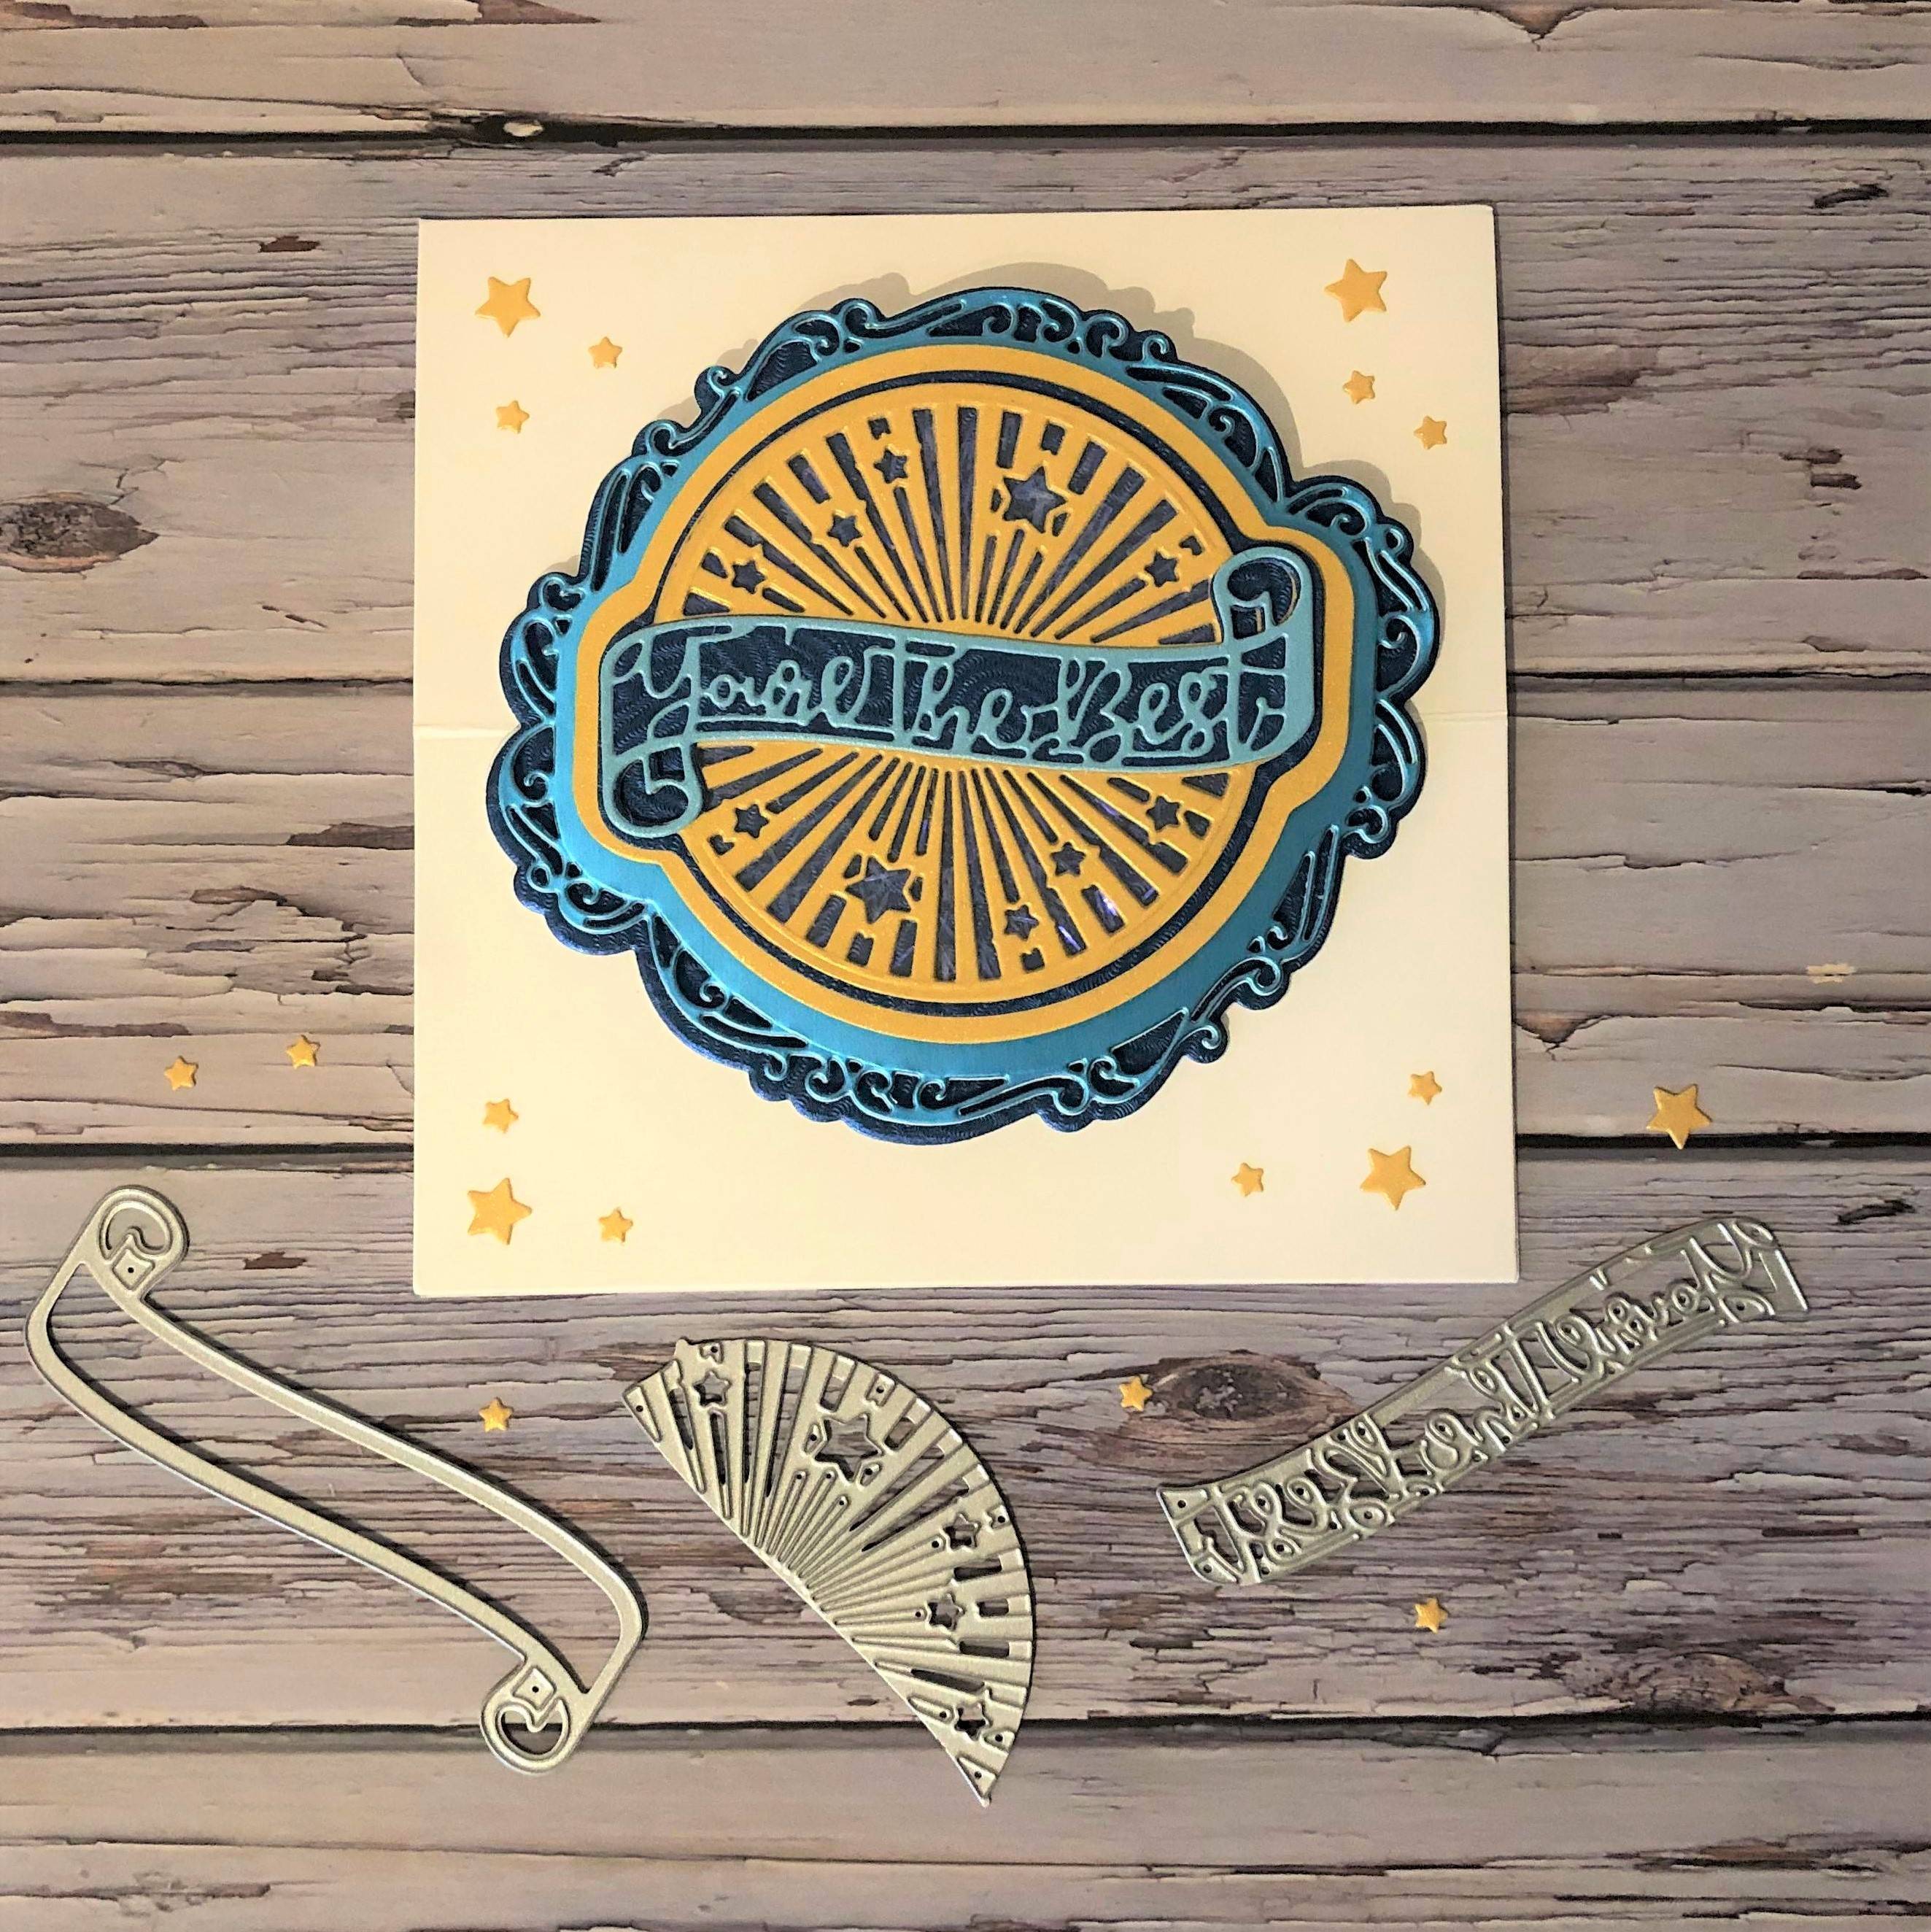

Hi, I'm Terri (Veegstez/Veegstez Creates) and I'm delighted to be doing another blog post for Tonic Studios. This die set is really versatile as you can create cards or makes for all occasions with the various layers and different sentiments.
In this tutorial, I will show you how to make a simple easel card, with a colour palette suitable for everyone.
What you will need
- Designers Choice Celebration Time Die Set
- Caribbean Sea Pearlescent Card
- Lemon Lustre Pearlescent Card
- Silky Sky Mirror Card
- Denim Ripple Card
- 6x6 White Craft Perfect Card Blank
- 300gsm white Craft Perfect Card
- Snow Storm Flakes Confetti
- Small piece of acetate or recycled packaging for the shaker element
- Scoring Tool
- Glue and foam pads
- Die cutting machine
Step 1 – Cutting out all of your required pieces


There are 3 different verso dies you can use for the inside decorative portions of your top layer and 4 different sentiments. For this project I chose the verso die with the lines and stars in it. Cut a piece of lemon lustre card slightly larger than your top decorative die and line the verso die into one half using the notches as a guide. Adhere these down with some low tack or washi tape. Run this through your die cutting machine and keep all of the little stars that fall out.


Remove the die cut piece from the die and reposition it so that the verso die is in the correct position to cut the other half of the top layer. It will slot in like a puzzle piece, so you will feel when it is in correctly. One you have done this, complete this process twice more so that you have 3 identical yellow layers.


Die cut the other layers with the dies shown in the pictures. For extra strength, I cut an extra intricate outer layer in 300gsm white Craft Perfect card, to adhere behind the detailed edge piece and again for behind the bottom most layer.
Step 2 – Preparing the top layer
I created a semi shaker for the top layer. It isn't a true shaker, but you do get to see the iridescent confetti through the gaps. Using one of your 3 yellow pieces as a guide, cut a circular(ish) piece of acetate and adhere it to the back of the top layer with small dots of wet glue. Then adhere the other two yellow die cuts and add in the confetti into the small wells, a tiny bit at a time. I found my pokey tool to be very helpful with this fiddly task. Then add small dots of glue all over the top most die cut and place your blue denim ripple layer (the size die up from the topper die) on top, to trap the confetti in place. Press down to adhere and the turn over to see you completed topper.


Step 3 – Die cutting the rest of the pieces for the card and adhering to complete the complete topper


Cut out the remaining layers as shown in the photos. Adding the extra white card layers adds extra strength to your make. I like lots of dimension in my cards so used foam tape on the back of the larger yellow layer and the detailed outer die.


Step 4 – Assembling your Easel card
Using some of the fall out stars from your die cuts, make a cluster of stars in each corner of your card. Using a scoring tool of your preference, create a horizontal score line at 3 inches across the centre of the front of the card blank. Now position your completed card centrepiece/topper in the centre of your card. Make a pencil line on the reverse of the topper on each side, just below the fold line. Turn the topper over and draw a pencil line with a ruler to connect each pencil mark, then apply a liberal amount of wet glue to everywhere beneath the pencil line. Adhere the topper to the bottom of the card only, ensuring no glue touches the fold line or goes above it.

Cut a piece of Caribbean Sea card to 5 ½ inch square and adhere to the inside of your card. You will then need to make a stopper, to hold your card open when in easel mode. I chose the “Happy Birthday” Sentiment as I felt in was a nice addition to the “You're the Best” sentiment I used on the topper.
I cut 3 of the banners in lemon lustre and glued them together. I then used the “Happy Birthday” sentiment and the banner die to create the top layer of the stopper.


You then need to play about with how far up you want your easel to stand and adhere your newly made stopper in place to hold up the top section of the card. This may take a little playing with to get the angle correct so that the easel stands straight, as the banner is curved. When you are happy with the placement, make pencil marks at the top left and top right of where your stopper will be, so that you glue it correctly in place.
Finished Card!


And here we go, your card is now complete! As you can see, it looks lovely when folded flat and then when the recipient opens it they get the nice surprise of it being an easel card, which will sit nicely on their mantle piece or shelf.
Buy The Craft Project


